Simple Knitting Braid
I had this idea to start posting some knitting pattern instructions for various styles and designs to knit a hat or a sweater and more. This articles will help knitter to learn more designs like braids on rib or ribs with unwoven stitches to add to their projects and maybe create their own knitting patterns. Today we will start with a simple knitting braid. The knitting braid is done when you cross two stitches or more. If you want to succeed you we will need the needle for knitting braids. Depending where you will put the needle (front or back ) of the knitting pattern , the crossing will be to the left , or to the right.
Knitting Braid Instructions
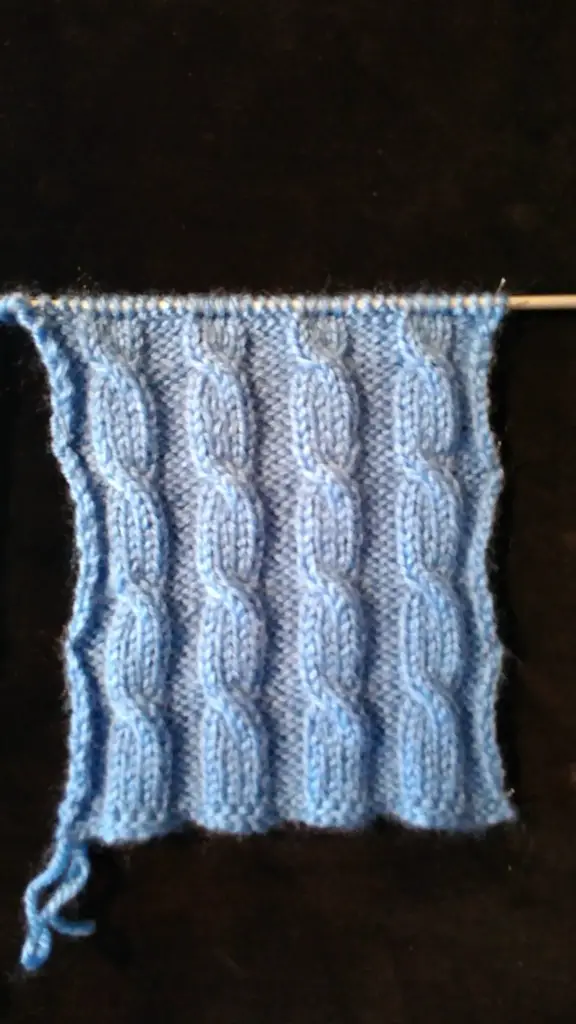
This example of the knitting braid it has 4 stitches and the crossing gets in each 10th row with angle to the left. The knitting braids are divided from each other 4 stitches jersey Wrong Side.
1th row: Right Side
6th row: Wrong Side. Knit every stitch of the knitting braid with jersey Wrong Side RS ( RS= Right side)

7th row: From the 4 stitches which are intended for 1 braid , pass 2 stitches into needle and hold them front of the knitting pattern , then knit right side the next two stitches, then knit right side the stitches from the needle normally , that means first the 1th stitch and then the 2st stitch. Now you have cross 2+2 stitches RS to the left. Now knit wrong side the stitches from the Wrong Side jersey which are divide the knitting braids.
8th-10th rows: Like the 1th-6th. Repeat continually the 1th-10th rows
Crossing to the left: Pass 2 stitches into the needles and hold them in front
Thanks for reading. I hopes you liked the article 🙂 Don’t forget to comment or share with your knitting buddies. Have a nice day!! <3
See Also


