

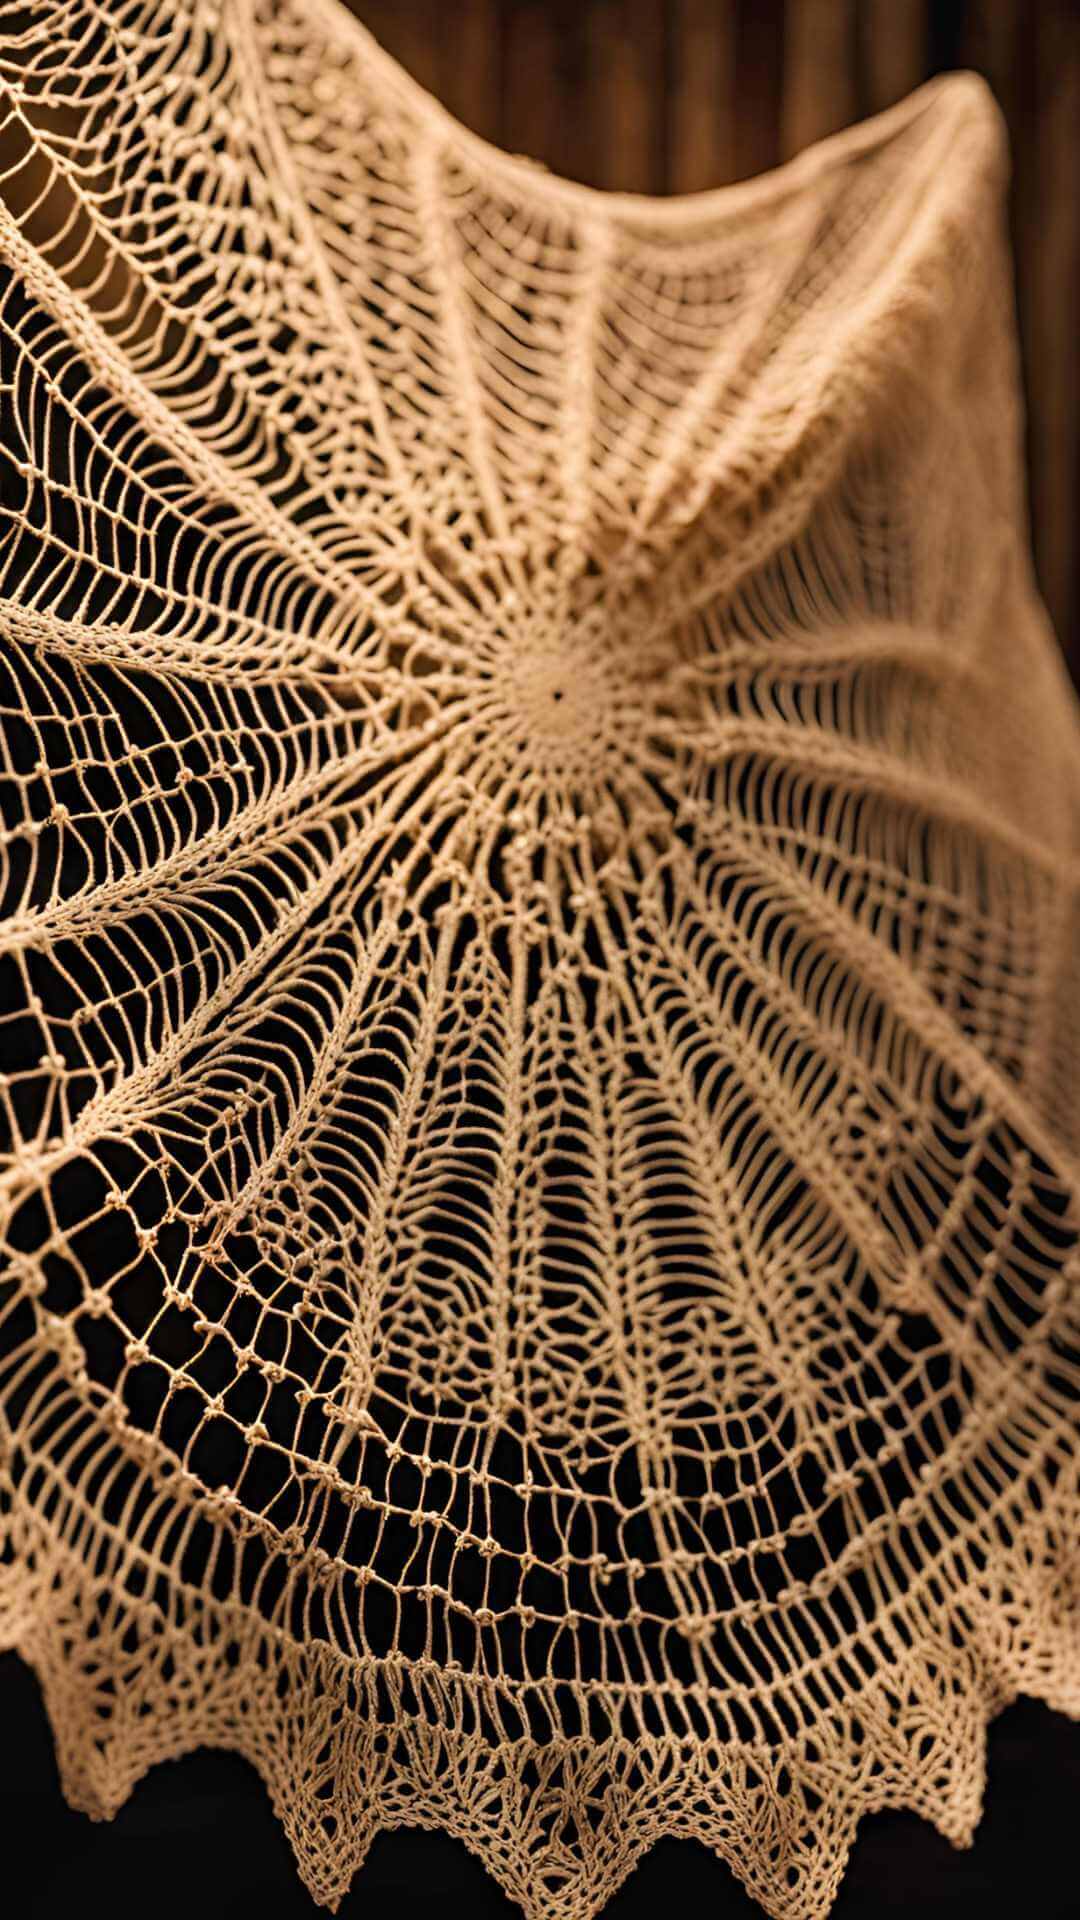
If you are looking to add a touch of elegance to your wardrobe, the Crochet Spider Web Shawl is a suitable choice for both summer and winter wear.
This guide will take you through each step, from creating the foundation chain to finishing and blocking your shawl, with a detailed video guide and written pattern.
Whether you are a seasoned crocheter, beginner, or intermediate, you will find helpful tips and tricks to customize your design and address any mistakes along the way, adding personal creativity and style.
Prepare to wrap yourself in a stunning garment that reflects your creativity, perfect for layering as a shawlette or accessory.
Instructions for Crochet Spider Web Shawl
The Instructions for Crochet Spider Web Shawl provide a detailed guide for crafters interested in creating an intricate piece that highlights various crochet techniques, pattern repeats, and textile art. This DIY project functions as both a beautiful garment and a lightweight accessory suitable for any season.
It is designed for a range of skill levels, from beginners to advanced crocheters, and can be customized with different yarn weights and colors to align with personal styles or seasonal trends. With clear instructions and engaging patterns, each stitch offers an opportunity for creative expression and enjoyment in the crafting process.
Step 1: Creating the Foundation Chain
- Step 1 in crafting the Crochet Spider Web Shawl involves creating the foundation chain, which serves as a crucial starting point for the entire project. This initial row of stitches is important for establishing the correct gauge and tension, essential for the shawl’s final drape and fit.
- To begin this process, select a yarn that matches the desired texture and weight of the shawl, choosing between a worsted or lightweight option based on personal preference. It is also important to choose a hook size that is suitable for the yarn; a larger hook will produce a looser stitch, while a smaller hook will create a tighter fabric.
- Mastering the chain stitch technique is key to forming a sturdy foundation, which allows the shawl to hang properly. Before starting, it is essential to measure and confirm that the chain is long enough to meet the planned dimensions of the shawl, ensuring a solid base for all subsequent rows.
Step 2: Creating the First Row
In Step 2, crocheters will focus on creating the first row of the spider web shawl using the double crochet stitch to build on the foundation chain. This step is important for establishing the shawl’s width and texture, which will enable intricate lace patterns to develop.
The technique not only contributes to the lightness of the shawl but also lays the groundwork for future rows, making it essential for the overall design. As they work through this foundational row, it can be helpful to use stitch markers to indicate pattern repeats, which enhances clarity and precision in their crochet.
Each double crochet serves as a step toward achieving the delicate lace effect, ensuring that stitches remain uniform and that the design unfolds as intended. Such preparation will be valuable as they continue crafting the shawl, facilitating a smooth progression through the upcoming intricate rows.
Step 3: Creating the Second Row
Step 3 involves creating the second row, where stitch markers can be very helpful in maintaining the pattern’s integrity and flow. This row builds on the foundation established in the first and introduces variations that enhance the spider web design.
To effectively incorporate the new stitches, the crafter should pay close attention to the recommended stitch count for each segment. This ensures the overall design remains cohesive and balanced.
When executing the second row, placing stitch markers at the start of each repeat provides a clear visual guide, helping to track any changes in stitch types or patterns introduced. This strategy not only promotes accuracy but also makes it easier to identify any potential mistakes early on, allowing for timely adjustments to keep the project on track.
Step 4: Creating the Third Row
As crocheters reach Step 4, the creation of the third row introduces pattern variations that enhance the shawl’s depth and character. This step requires careful attention to stitch placement to maintain the overall design theme.
The techniques used in this row are crucial for achieving consistent tension and stitch style, which contribute to the uniformity of the finished piece. Ensuring that each stitch is evenly spaced and compatible with those in previous rows helps create a seamless transition throughout the work.
This stage offers an opportunity for creators to experiment with different yarn colors and weights, adding a personal touch to the design. By exploring various combinations, crocheters can uncover unique effects that improve the shawl’s visual appeal and overall texture.
Step 5: Creating the Fourth Row
- Step 5 involves creating the fourth row, where various stitch techniques are utilized to enhance the shawl’s texture and aesthetic. The choice of yarn weight can significantly influence the overall feel of this row and the final shawl.
- For instance, using lighter yarns can provide an airy quality, while heavier yarns contribute a robust and cozy feel. Techniques such as lace stitches, ribbing, or popcorn stitches can transform this fourth row into a focal point, adding visual interest.
- When selecting yarn, it is important to consider how the yarn weight interacts with the chosen stitches. Thicker yarns may obscure the delicacy of lace stitches, while thinner yarns can lead to a more intricate appearance.
- Adjusting tension is also essential; loosening the grip can create a softer drape, whereas tightening it may enhance structure, depending on the specific yarn properties and desired aesthetic.
Step 6: Creating the Fifth Row
In Step 6, the creation of the fifth row allows for the incorporation of lace elements and potential embellishments that enhance the shawl’s design. This step combines functionality and artistry within the project.
As the shawl begins to take shape, the fifth row represents an important opportunity to infuse personal creativity. By introducing decorative techniques such as yarn overs, bobbles, or delicate stitches, one can create patterns that are visually appealing. Experimenting with contrasting colors can also enhance visual interest, making the lace stitches stand out against the shawl’s base.
This approach provides a chance for unique touches, whether through bold hues or subtle shades, ultimately transforming a simple project into a striking piece of wearable art.
Step 7: Creating the Sixth Row
The sixth row of the shawl is an ideal place to use gradient yarn, creating a visual transition that enhances the overall drape and appeal of the piece. This technique adds an artistic element that can elevate the shawl into a truly wearable masterpiece.
To successfully incorporate gradient yarn into this row, start by selecting complementary colors that blend smoothly into one another. This will ensure a seamless transition. As you work, it is important to maintain stitch consistency to avoid any abrupt changes that might disrupt the visual flow.
Maintaining gentle tension and even gauge is essential, as it helps achieve the desired drape while allowing the colors to blend seamlessly for a polished finish. Experimenting with small swatches of different combinations can encourage creativity and highlight the intricate beauty of the gradient effect.
Step 8: Creating the Final Rows
The final rows of the shawl complete the project, finishing the intricate design and preparing it for blocking to improve its shape and drape. This stage is important for transforming the shawl into a stylish wrap that can serve as a statement accessory.
During this phase, it is crucial to pay attention to how each stitch aligns and settles, as proper blocking allows the fibers to relax and showcases the quality of the craftsmanship. Once the shawl is soaked and pinned in place, it presents an opportunity to explore different wrap styles.
Crocheters can experiment with various ways to drape, knot, or layer the finished piece, creating a personalized look that fits any wardrobe. Engaging in these creative options not only enhances the visual appeal but also provides satisfaction in displaying their work.
Finishing and Blocking the Crochet Spider Web Shawl
Finishing and blocking the Crochet Spider Web Shawl is an important process that ensures the piece retains its final shape and design integrity, enhancing the overall beauty of the crochet work. Proper blocking helps to even out stitches, improves drape, and showcases the intricate patterns and motifs created throughout the project.
By following a few simple steps, it is possible to transform the unfinished piece into a polished work of art. Start by gently washing the shawl in lukewarm water with mild soap to remove any dirt or oils from the fibers. Next, carefully squeeze out the excess water—avoid wringing, as this can distort the shape.
To ensure consistent tension while blocking, lay the shawl flat on a clean, dry surface lined with a towel or blocking mats. Use pins to shape the edges and corners, adjusting the tension according to the desired finish. Consider using a crochet hook to help with any final adjustments.
As the piece dries, it is recommended to allow it to air dry naturally, which helps prevent unwanted creases or puckering. Effective finishing techniques not only enhance the overall appearance but also contribute to the durability of the crochet work, preserving it for years to come. Using a lightweight fiber like cotton or wool can improve the drape and texture of the final product.
Tips and Tricks for Crocheting the Spider Web Shawl Pattern
Tips and tricks for crocheting the Spider Web Shawl Pattern can improve the overall experience, making the crafting process smoother and more enjoyable. Utilizing a tutorial or video guide can be particularly helpful for visual learners.
By incorporating advice from the crochet community and experienced crafters, both beginners and advanced crocheters can refine their techniques and enhance their projects. Engaging with crochet groups on platforms like Ravelry or Pinterest can provide additional crochet inspiration and support.
How to Fix Mistakes
Knowing how to fix mistakes is an important skill for every crocheter, helping to reduce the frustration that can arise during a project. Whether it involves unraveling a few stitches or addressing tension issues, having strategies in place can help ensure the shawl maintains its integrity and beauty. Remember to use stitch markers to keep track of your progress and avoid repeated errors.
Identifying dropped stitches is a key component; for instance, noticing a ladder-like appearance in the fabric can indicate a problem. Recognizing when the tension is too loose or too tight requires careful observation—consistently checking gauge can significantly aid in maintaining the desired texture.
Every mistake presents an opportunity to learn and improve. Embracing these moments and allowing for experimentation is beneficial, as every experienced crocheter has encountered similar challenges on their journey. This is all part of the creative process and can lead to even more beautiful and unique results. Joining online classes or following a pattern book can offer structured learning and new ideas.
How to Customize the Shawl
Customizing a shawl allows crocheters to express their personal style and creativity, resulting in a finished piece that is truly one-of-a-kind. By exploring pattern variations and using a personalized color palette, each project can reflect individual artistry and flair. Consider using pattern modifications to adjust the design elements to suit your preferences.
To enhance this process, it can be beneficial to experiment with different yarn types, such as bamboo or silk blends, which can add unique textures and drape. Stitch variations like shells, lace, or clusters can create visual depth that enhances the design. Choosing the right yarn weight and fibers will also influence the final outcome.
Incorporating personal motifs—such as meaningful symbols or favorite colors—can establish a connection to the piece. Additionally, embellishing with beads, tassels, or embroidered details can introduce a touch of sophistication and whimsy. These creative choices have the potential to transform a simple shawl into a striking statement accessory that tells a story. Try adding fringe or experimenting with different colorways to further personalize your creation.
Frequently Asked Questions
What is a Crochet Spider Web Shawl Pattern?
A Crochet Spider Web Shawl Pattern is a specific pattern used to create a shawl with a spider web design using crochet techniques. It typically involves using chains, single crochet, and double crochet stitches to create a lacy, web-like pattern.
Do I need any special skills to make a Crochet Spider Web Shawl?
Some basic crochet skills are necessary to make a Crochet Spider Web Shawl, such as knowing how to do a chain stitch, single crochet, and double crochet. However, the pattern itself is typically considered intermediate level, so some prior experience with crochet may be helpful.
Can I use any type of yarn for this pattern?
Yes, you can use any type of yarn for a Crochet Spider Web Shawl, but the recommended yarn type is a lightweight yarn in order to create a delicate and lacy look. You can also choose different colors to customize your shawl, but keep in mind that the web pattern may be more visible with lighter colored yarns. Consider selecting fibers like acrylic or a wool blend for added warmth and structure.
How long does it take to complete a Crochet Spider Web Shawl?
The time it takes to complete a Crochet Spider Web Shawl can vary depending on your crochet skill level and the amount of time you dedicate to working on it. On average, it can take anywhere from 10-20 hours to complete.
Are there any variations to the Crochet Spider Web Shawl Pattern?
Yes, there are many variations to the Crochet Spider Web Shawl Pattern. Some patterns may incorporate different stitches or add elements such as beads or fringe to the shawl. You can also find variations in the shape and size of the shawl, from traditional triangular shawls to more modern rectangular or circular versions. Exploring crochet shawl ideas from a crochet blog can spark new design inspirations.
Can I sell items made using the Crochet Spider Web Shawl Pattern?
Yes, you can sell items made using the Crochet Spider Web Shawl Pattern. However, it is important to check the specific pattern for any copyright or licensing restrictions. It is also considerate to give credit to the original designer when selling items made from their pattern. Platforms like Etsy make it easy to market handmade crochet items.
