Chunky Crochet Ear Warmer Pattern
Making a cozy ear warmer can be fun and simple! With this ear warmer pattern, you will craft a warm winter accessory in no time. This guide uses super bulky yarn and a large hook to create a chunky ear warmer. Perfect for beginners, this project is quick and rewarding. The bulky ribbed ear-warmer design provides both style and warmth. Plus, it’s a great stashbuster project for using leftover yarn. Follow the steps, and you’ll have a stylish crochet chunky ear warmer ready for chilly days. Whether you love crochet ear warmers or are trying something new, this pattern is a delightful choice.
Key Takeaways
- Use super bulky yarn and a large hook for a warm, chunky ear warmer.
- Learn slip stitches for a knit-like texture in this crochet chunky ear project.
- Adjust the size of the ribbed ear-warmer pattern by changing the starting chain.
- Avoid common mistakes by keeping tension loose and choosing the right hook size.
- Show off your crochet ear warmers by sharing photos and using relevant hashtags.

Essential Materials and Tools
To bring your chunky crochet ear warmer pattern to life, gather materials and tools. Start with a super bulky yarn like Lion Brand Hometown USA. A large crochet hook, size 8 mm or bigger, is your best friend here.
When choosing yarn, a bulky weight yarn creates a dense and cozy feel. A bulky ribbed ear-warmer results from using slip stitches in the back loop, giving a stretchy yet firm texture. Adjust rows for a snug fit and avoid a too-tight feel by keeping your tension loose.
The ear warmer pattern benefits from a twist for style. Fold it into a U shape, interlock ends, and sew. Join the crochet community by sharing your ear warmer crochet masterpiece online. Use hashtags for a wider reach. And keep it fresh by washing gently, laying flat to dry.
Ready to bust that yarn stash? This stashbuster bulky ribbed project is perfect! Your chunky crochet ear creation awaits.
Understanding Yarn Types: Bulky vs. Super Bulky
Choosing between thicker yarn types is like picking between a cozy and a super cozy blanket. Bulky yarn gives you a snug, dense fabric, perfect for those chilly days. In contrast, super bulky yarn takes it up a notch, offering extra warmth and a plush feel. This is just the ticket for a chunky ear warmer.
You know the kind, right? The kind that hugs your ears and keeps the chill at bay. Selecting the right yarn impacts the final warmth and thickness. So, if your goal is to follow a warmer crochet pattern for those frosty mornings, consider trying super bulky yarn.
This choice ensures your creation has that inviting puffiness everyone loves. And let’s not forget, using a bulky weight yarn can still deliver on warmth while being a bit lighter. Whether you’re aiming for a stashbuster bulky ribbed project or a stylish crochet ear warmers design, the yarn you pick is your secret weapon.
Mastering Basic Crochet Stitches
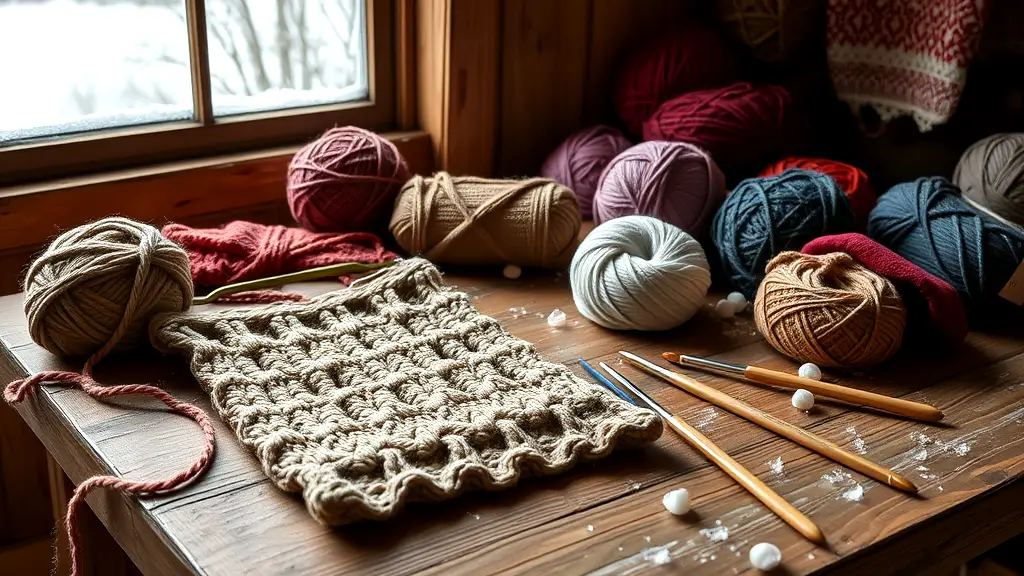
Understanding the nuances of basic crochet stitches can elevate a bulky ribbed ear-warmer from ordinary to extraordinary. Slip stitches, especially in the back loop, provide a knit-like texture, perfect for a stylish twist on a classic design. The foundation single crochet (FSC) stitch is your go-to for that extra stretch, keeping your crochet ear warmers snug yet comfortable.
Now, let’s talk about achieving that ribbed look. Working slip stitches in the back loop consistently creates a texture that’s both stretchy and visually appealing. Think of it as a playful dance of yarn and hook, coming together to form a masterpiece. Adjusting the size of your ear warmers pattern is as simple as adding or subtracting chains or rows.
And for that final touch, a twist or knot adds some pizzazz. Finish by sewing the ends securely and weaving in the tails. Voilà, your chunky ear warmer is ready to shine!
Step-by-Step Crochet Instructions
Crafting with instructions in mind, you’ll need to begin your crochet chunky ear project by selecting yarn and a sizeable hook. Choose super bulky yarn for a warm finish. Start by chaining the desired length, ensuring it fits comfortably around your head. Slip stitches in the back loop are your best friend here, creating that lovely ribbed texture.
- Materials: Gather bulky yarn and a large hook, typically size 8 mm or more.
- Chain Foundation: Create a chain that wraps snugly around your head.
- Stitching: Use slip stitches in the back loop for each row, emphasizing that ribbed texture.
- Size Adjustment: Modify the starting chain or row count for a personalized fit.
- Stylish Twist: Add flair with a twist before joining the ends.
- Finishing Touches: Secure the ends and weave in any loose tails.
- Common Pitfalls: Maintain loose tension to avoid tightness.
Lastly, this stashbuster bulky ribbed project is perfect for showing off your creativity. Share your warmer crochet pattern masterpiece on social media for some well-deserved applause!
Creating a Ribbed Texture
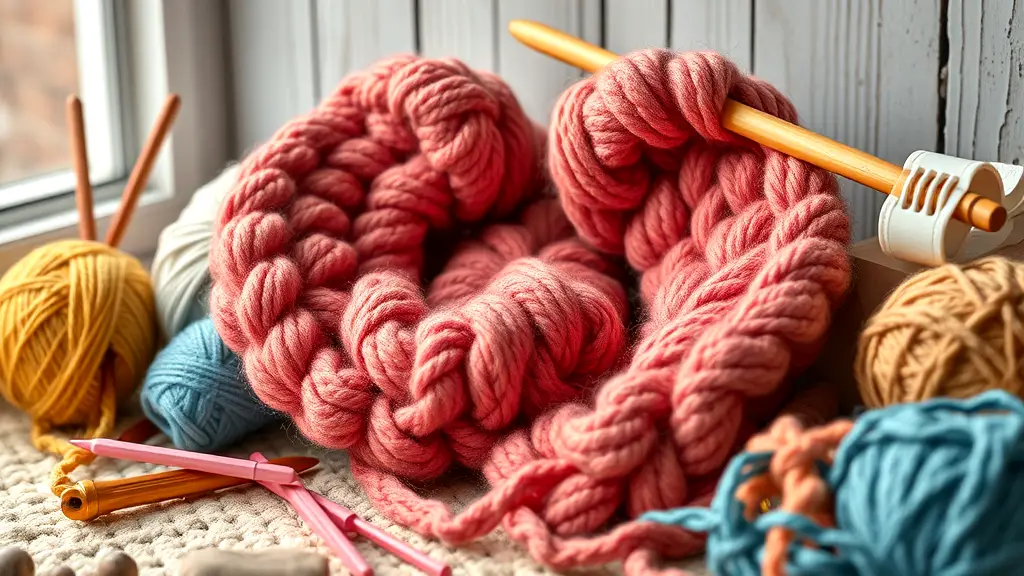
Achieving that ribbed look involves using slip stitches in the back loop. This method creates a texture that’s both stretchy and visually appealing. It’s like giving your stashbuster bulky ribbed creation a touch of elegance without much fuss. If done right, it feels like a gentle hug around your head, snug yet cozy.
When crafting your chunky ear warmer, keep those slip stitches loose. Tight stitches can make it tricky to maintain the stretchy, knit-like quality. Picture it like slipping into your favorite sweater—a little give makes all the difference.
Now, if you want to adjust the fit, simply tweak the number of chains or rows. Think of it as customizing your own fit, just like tailoring a suit.
Incorporate these techniques into your pattern bulky ribbed project. Share it with friends, or flaunt it on social media. Let your crochet chunky ear design shine! Remember, every loop and stitch adds character to your masterpiece.
Adjusting the Size for a Custom Fit
For those who enjoy a snug fit, tweaking your Chunky Crochet Ear Warmer Pattern is a breeze. Want it tighter or looser? No need to break a sweat! Just play around with the number of rows or starting chains. Imagine it like adjusting your belt after a big meal—simple yet effective.
Incorporate the bulky ribbed ear-warmer technique for that cozy, snug feeling. Not just a stashbuster, but a chance to get creative with your design. This stashbuster bulky ribbed method is perfect for using up those yarn odds and ends.
If your crochet chunky ear masterpiece feels too loose, add a few extra rows. Too tight? Reduce them. Think of it like finding that perfect pair of jeans—sometimes you need a little wiggle room.
Ear warmers pattern enthusiasts know that every tweak and twist adds personality. Don’t hesitate to make it your own! Share your unique ear warmer crochet designs and inspire others. Seek feedback and enjoy the process, because every thread tells a tale.
Adding a Stylish Twist or Knot
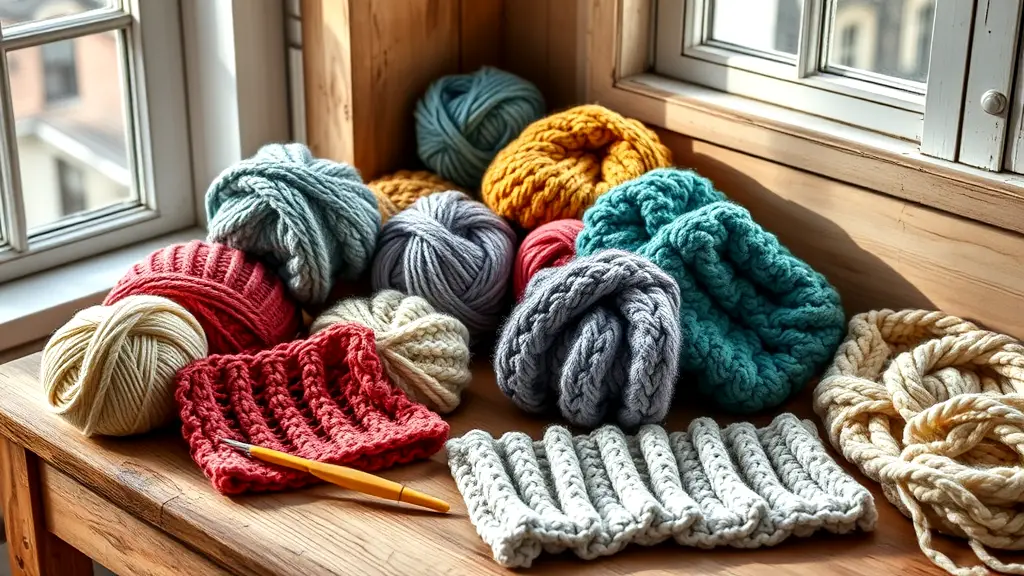
Adding a chic twist or knot to your chunky crochet ear warmer pattern can elevate its look significantly. Picture folding the piece into a U shape and artfully interlocking the ends before securing them. This simple maneuver infuses a playful twist into the design, transforming it from ordinary to extraordinary. Think of it as the secret ingredient in a beloved family recipe—it’s the little details that make all the difference.
While working on your chunky ear warmer, ensure the twist aligns perfectly before stitching. This attention to detail can prevent a lopsided final product. For those with a stash of yarn, this project is perfect for minimizing leftovers, a true stashbuster bulky ribbed approach.
For added flair, consider contrasting colors or even a decorative button. Crafting a crochet chunky ear accessory with a twist or knot not just ensures warmth but also adds a unique touch. Lion Brand Hometown USA Yarn, available on Amazon, offers an excellent choice for this stylish endeavor.
Tips for Joining and Finishing
Joining and finishing your chunky crochet ear warmer pattern is like the final bow on a gift. Start by folding the ends together. A simple whip stitch or mattress stitch through all layers ensures a secure fit. Don’t rush this bit! Each stitch matters, like dots in a connect-the-dots game. It all comes together for a seamless look.
When it’s time to weave in the ends, be a little sneaky. Hide those pesky tails in the stitches to keep everything neat and tidy. You don’t want them poking out like a rooster’s comb. It’s a small detail, but it adds a professional touch. If you’re feeling fancy, try adding a contrasting edge. It’s like adding a cherry on top of a sundae!
And remember, your creation is more than a pattern—it’s a statement. Share your masterpiece with friends and family. Let them marvel at your skills!
| Step | Tools Needed | Purpose | Outcome |
|---|---|---|---|
| Fold Ends | Crochet Hook | Align Layers | Secure Base |
| Stitch Together | Yarn Needle | Join Layers | Seamless Finish |
| Weave Ends | Scissors | Hide Tails | Neat Look |
| Add Edge | Extra Yarn | Decorative Touch | Unique Style |
| Show Off | Camera | Share Work | Community Engagement |
Common Mistakes and How to Avoid Them
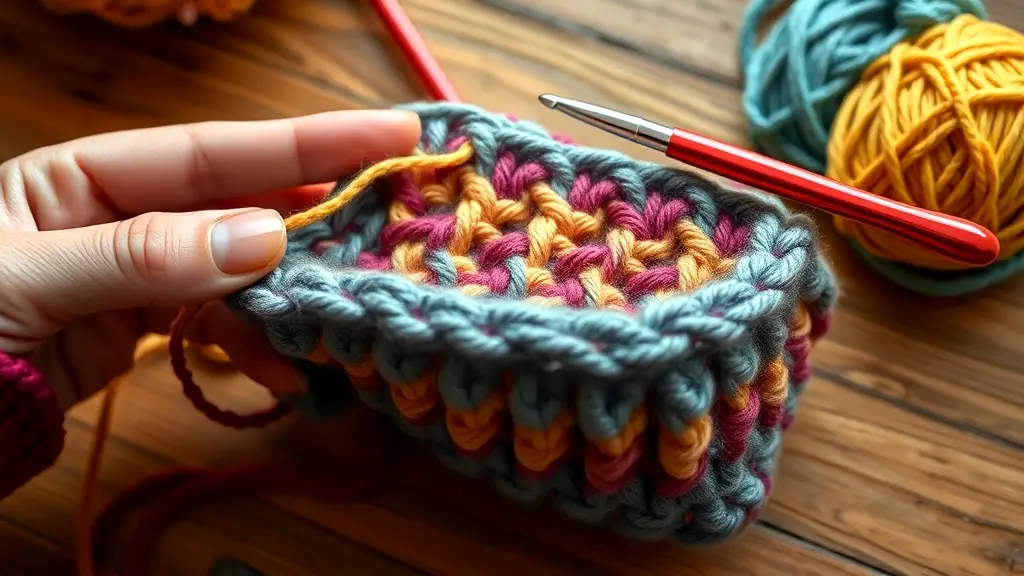
Avoiding errors in your chunky crochet ear warmer pattern is key to a smooth crafting experience. Maintaining a loose tension helps prevent difficulty when working into slip stitches. If stitches are too tight, consider switching to a larger hook. This simple adjustment can make a world of difference!
Misreading the ear warmers pattern can lead to awkward sizing. Double-check your row count and starting chains to ensure it fits snugly and comfortably. A small oversight here might lead to a redo, and nobody wants that.
Another common oversight is inconsistent slip stitch tension. Keep your stitches uniform to achieve that beautiful, bulky ribbed ear-warmer texture. This ensures a polished look and feel, making your project stand out.
Finally, forgetting to weave in ends properly can lead to unraveling. Take a moment to secure those tails for durability. With these tips, you’ll avoid common pitfalls and enjoy creating your cozy masterpiece.
| Mistake | Consequence | Solution | Tools Needed |
|---|---|---|---|
| Tight stitches | Hard to crochet | Use larger hook | Larger hook |
| Misreading pattern | Wrong size | Double-check measurements | Measuring tape |
| Inconsistent tension | Messy texture | Maintain uniform tension | Crochet hook |
| Unfinished ends | Unraveling | Properly weave ends | Yarn needle |
| Skipped rows | Uneven shape | Count rows carefully | Row counter |
Care Instructions for Longevity
To ensure your chunky crochet ear warmer lasts, follow these care tips. Start by hand washing or using a gentle machine cycle. This helps maintain the yarn’s texture and color. Always lay it flat to dry rather than hanging, which could distort the shape.
If you’re unsure about washing techniques, the pros at Spotted Horse Design Co. often recommend using a mild detergent. Gently press out excess water without wringing; this keeps the fabric from stretching.
For storage, keep your bulky ribbed ear-warmer in a cool, dry place. Avoid direct sunlight, which can fade colors over time. Folding it neatly helps retain its stylish form.
To keep it looking fresh, check for any loose threads. Trim them to prevent unraveling. This little effort goes a long way in maintaining its elegant look.
Finally, remember that a little TLC can make your chunky ear warmer a cozy companion for many seasons.
Showcasing Your Finished Ear Warmer
You’ve put the finishing touches on your fuzzy creation. Now, it’s time to reveal your bulky ribbed ear-warmer to the world! Snap a picture in your favorite winter outfit, perhaps with a mug of hot cocoa in hand. Natural light works wonders; it highlights the beautiful ribbed texture. Share your masterpiece on social media, and don’t forget those hashtags. It’s like leaving a breadcrumb trail for fellow crochet enthusiasts to follow.
Engage with comments from curious friends and fellow crocheters. They may ask for tips or want to know where you got your yarn. It’s a great way to connect and share wisdom. Plus, who doesn’t love a good yarn exchange, right?
And remember, each creation tells a unique tale. So, jotting a short caption about your crochet journey can add that personal touch. Whether it’s a tale of tangled yarn or a eureka moment with stitches, your followers will love it.

Conclusion
Congratulations on crafting your own chunky crochet ear warmer! You’ve not just made a cozy accessory; you’ve woven a piece of art. Each stitch tells a part of your crochet journey. You might have faced a few tangles along the way, but you powered through.
Now, it’s time to show off your creation. Snap some photos of your ear warmer and share them online. Use those hashtags to connect with fellow crochet enthusiasts. You never know, your creation might inspire someone else to pick up a crochet hook.
Feel the warmth of community and creativity as you wear your ear warmer. Nothing beats the satisfaction of completing a handmade project. Keep those hooks moving and your creativity flowing!
FAQ
- What yarn is best for a chunky crochet ear warmer?
For a chunky ear warmer, super bulky yarn like Lion Brand Hometown USA is ideal. It offers both warmth and volume. If you prefer alternatives, consider Lion Brand Wool-Ease Thick & Quick. Both options give that cozy, plush feel we all love.
- What crochet hook should I use?
A large crochet hook, size 8 mm or larger, works best for super bulky yarn. This size helps you manage the thicker yarn easily. It also keeps your stitches looking neat and uniform.
- How can I create a ribbed texture?
Achieving that ribbed look is simple. Use slip stitches in the back loop throughout your project. This technique creates stretchy, knit-like rows that are both functional and stylish.
- Can I adjust the size of the ear warmer?
Absolutely! To make it larger or smaller, adjust the number of starting chains or rows. Ensure it fits snugly for optimal warmth. Remember, a snug fit keeps those chilly winds at bay!
- How do I add a stylish twist or knot?
Adding a twist is a fun way to jazz up your ear warmer. Fold it into a U shape and interlock the ends before sewing. This simple trick adds a fashionable flair to your cozy accessory.


