Chicken Nugget Crochet Pattern
Welcome to the Chicken Nugget Crochet Pattern! If you’re ready to learn to crochet your very own cute nugget, you’re in the right place. This easy amigurumi tutorial will guide you step-by-step. You’ll gather materials like Bernat Blanket yarn and a crochet hook, perfect for creating that nugget shape.
With the Monua DIY technique, you can achieve that delightful texture. Don’t worry if you’re a beginner; this is an ideal beginner crochet tutorial. By the end, you’ll have a charming nugget that showcases your skills. So, grab your yarn and let’s start this fun chicken nugget tutorial together!
Key Takeaways
- Gather materials like Bernat Blanket yarn and a 5.5 mm crochet hook.
- Use the Monua DIY technique for realistic chicken nugget texture.
- Follow the easy amigurumi tutorial for step-by-step guidance.
- Read crochet symbols and abbreviations to decode the chicken nugget tutorial.
- Turn your finished nugget into an amigurumi keychain for a fun accessory.
Essentials for Starting Your Chicken Nugget Crochet Project
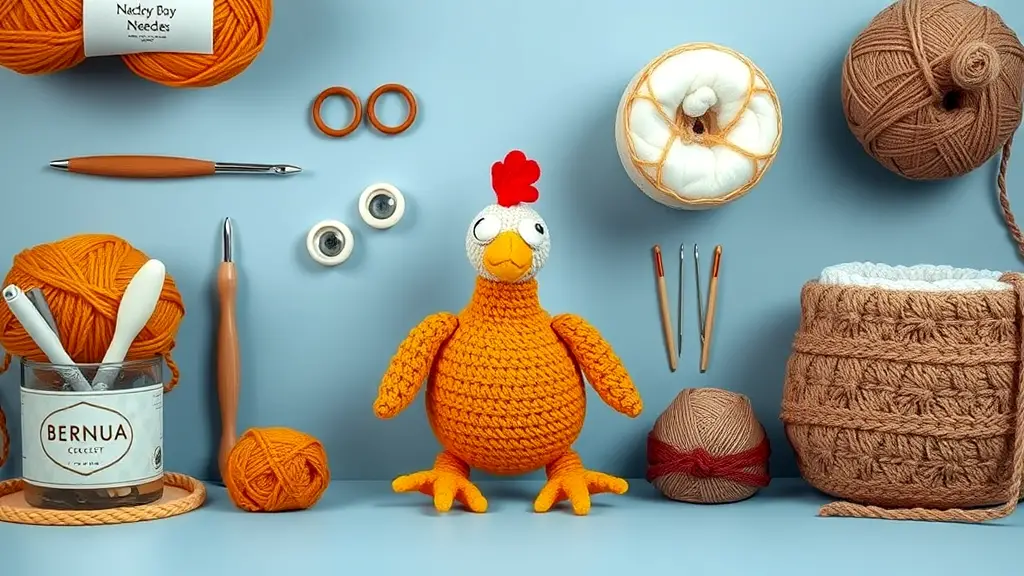
Gather the basics for your chicken nugget crochet project. You’ll need Bernat Blanket yarn in shades like Ochre or Light Brown Panda. A 5.5 mm crochet hook works well, but sizes can vary. Don’t forget safety eyes, yarn needles, and stuffing to bring your nugget to life. Familiarize yourself with the Monua DIY technique for a smooth start. Following a beginner crochet tutorial can simplify the process. With these essentials, you’ll be on your way to creating adorable crochet nuggets.
| Item | Recommended Type | Purpose |
|---|---|---|
| Yarn | Bernat Blanket | Nugget color |
| Crochet Hook | 5.5 mm | Stitching |
| Safety Eyes | Plastic | Adding personality |
| Yarn Needles | Tapestry | Weaving in ends |
| Stuffing | Polyester Fiber | Filling for structure |
Understand the Basic Stitches of Crochet
Familiarity with essential crochet stitches lays the groundwork for your projects. Start with the magic ring for a tight beginning, ideal for amigurumi. The single crochet stitch is your best friend, creating a solid foundation. As you progress, incorporate slip stitches to connect pieces seamlessly. The half double crochet adds height with a unique texture. Finally, mastering the double crochet stitch opens doors to varied designs. These fundamental techniques are crucial for successfully executing the chicken nugget crochet pattern.
Tools and Materials Needed
Gather the right equipment for your chicken nugget crochet pattern. Pick up Bernat Blanket yarn in colors like ochre or light brown for a crispy look. Use a 5.5 mm crochet hook to create your nuggets, though sizes can vary based on your design vision. Don’t forget safety eyes and yarn needles for detailing and stuffing to give your nuggets a nice shape. These materials are essential for crafting adorable and realistic nuggets in your crochet projects.
Easy Amigurumi Techniques for Creating Chicken Nugget Texture
Utilizing straightforward amigurumi techniques can help you replicate the delightful texture of chicken nuggets. The Monua DIY method is a game-changer, guiding beginners through effective stitching. Focus on creating a bumpy surface by using repetitive stitches, which add depth and realism. For a more authentic look, consider playing with yarn colors and weights. Adopting these simple tricks will elevate your chicken nugget crochet pattern, making your creations irresistibly cute and fun. Each nugget can become a charming piece of diy food art!
Decoding the Chicken Nugget Crochet Pattern
Understanding the chicken nugget crochet pattern involves grasping crochet symbols and abbreviations. These symbols guide you through the steps and ensure precise execution of designs. Familiarize yourself with common notations to avoid confusion. Pay close attention to stitch counts and special instructions within the pattern. This knowledge is essential for achieving a polished final product. Exploring resources can further enrich your understanding. For example, many creators recommend checking out helpful guides on crochet techniques.
| Symbol | Meaning | Example |
|---|---|---|
| sc | Single Crochet | Base of your nugget |
| inc | Increase | Adding stitches for depth |
| dec | Decrease | Shaping the nugget |
| rnd | Round | Work in circular fashion |
| st | Stitch | Each individual stitch |
Reading Crochet Symbols and Abbreviations
Understanding crochet symbols and abbreviations is key to crafting your Chicken Nugget Crochet Pattern. Each symbol represents specific stitches, guiding you through your project. For example, a circle often indicates a single crochet, while a line might signify a chain. Familiarizing yourself with these symbols allows for smoother navigation through patterns. You’ll find that following these visual cues makes your crochet journey more enjoyable. Embrace the process, and soon you’ll be whipping up adorable nuggets with confidence!
Following the Chicken Nugget Pattern Instructions
To effectively follow the Chicken Nugget Crochet Pattern instructions, begin by carefully reviewing the pattern.
- Gather all necessary materials.
- Familiarize yourself with basic stitches, especially the magic ring.
- Start with the Monua DIY technique for a textured base.
- Pay attention to stitch tension for consistent results.
- Use safety eyes and stuffing for added dimension.
Incorporate advanced techniques for depth as you progress. For more guidance, refer to a comprehensive diy food art source.
Starting Your Crochet Chicken Nugget
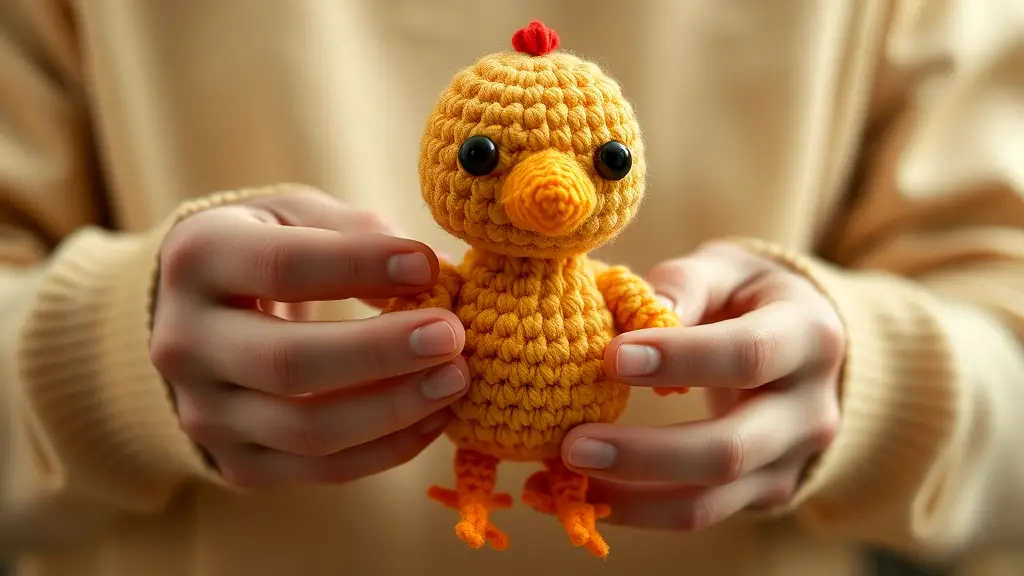
Kick off your crochet chicken nugget project by using the Monua DIY technique. Start by crafting a solid base, ensuring it’s well-stuffed for shape. Consistent stitch tension will maintain a neat appearance. Incorporate safety eyes for added character. For a delightful finishing touch, consider adding a small “sauce” element in vibrant colors. This will elevate your creation and make it even more appealing. For additional tips, check out a detailed free amigurumi pattern online.
Making the Nugget Base with Monua DIY Technique
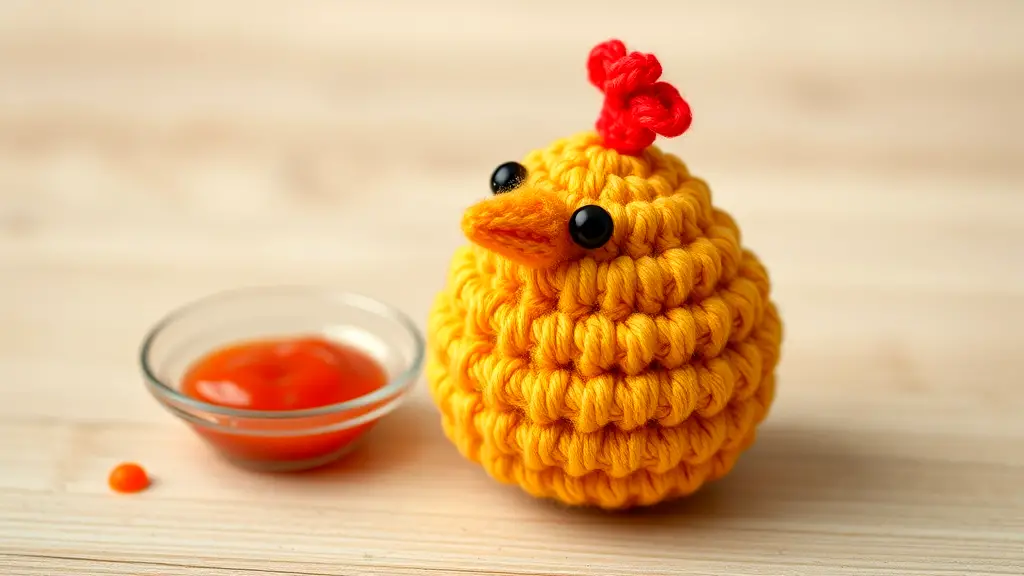
Creating the base of your nugget using the Monua DIY technique is straightforward. Start with a magic ring and single crochet stitches for a solid foundation. Keep your tension consistent for a neat look. As you progress, ensure the nugget is well-stuffed for shape. Add safety eyes to bring your nugget to life. For a finishing touch, consider a splash of color for a “sauce” element that enhances your design. This technique is key in achieving an adorable crochet chicken nugget.
| Step | Description | Tips | Tools Needed |
|---|---|---|---|
| 1. Start with Magic Ring | Begin your nugget base. | Use a loose ring for easy access. | 5.5 mm crochet hook |
| 2. Single Crochet Stitches | Form the nugget shape. | Maintain even tension. | Bernat Blanket yarn |
| 3. Stuffing | Fill the nugget adequately. | Use fiberfill for softness. | Yarn needle |
| 4. Add Safety Eyes | Create character. | Position them evenly. | Safety eyes |
| 5. Color Splash | Add vibrant “sauce” to your nugget. | Experiment with colors. | Yarn in desired colors |
Creating the Chicken Nugget Crust
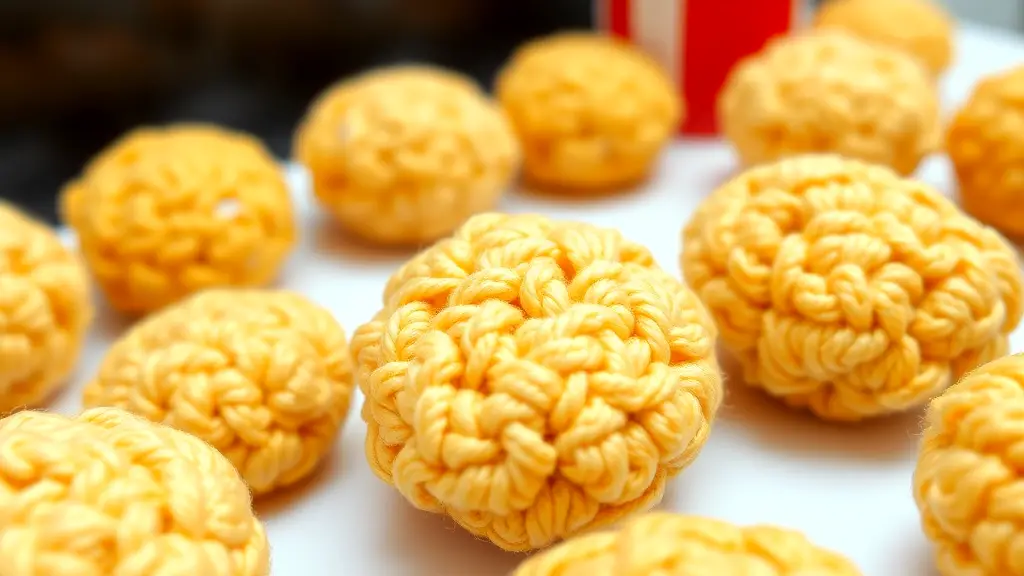
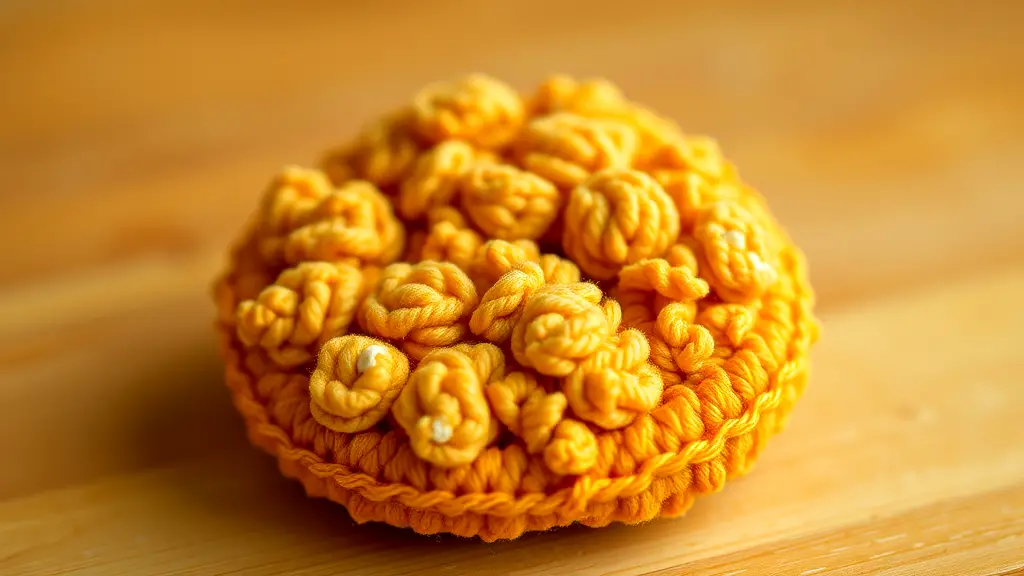
When crafting the chicken nugget crust, focus on creating that signature bumpy texture. Use the Monua DIY technique for a professional finish. Begin with a solid base, utilizing simple stitches that build the nugget’s shape. Consistent tension is key for uniformity. Experiment with yarn colors to mimic crispy, golden nuggets. Adding a touch of vibrant “sauce” can elevate your design. This approach enhances your chicken nugget crochet pattern, making it truly delightful and engaging.
Tips and Tricks for More Realistic Crochet Nuggets
For more realistic crochet nuggets, focus on achieving a textured finish. Use Bernat Blanket yarn in shades that resemble crispy chicken. The Monua DIY technique is perfect for creating that signature nugget surface.
Don’t forget to play around with colors. Adding elements like a “sauce” can enhance authenticity. Consider using a contrasting yarn for that extra visual appeal. By experimenting with textures and colors, you’ll bring your crochet chicken nugget to life, making it a delightful addition to your collection.
Advanced Techniques for a 3D Chicken Nugget Crochet Design
Incorporating advanced techniques can truly elevate your chicken nugget crochet pattern. Use layered stitching to create depth, making your nugget look more realistic. Strategic stuffing helps achieve a plump appearance, giving your piece a three-dimensional effect.
Consider adding details like subtle color variations to mimic the crispy texture. Experiment with different yarn weights for a unique finish. These techniques not just enhance aesthetics but also challenge your crocheting skills, making the process enjoyable and rewarding.
5 Common Mistakes to Avoid When Crocheting a Chicken Nugget
When crafting a chicken nugget, there are several missteps to sidestep.
First, ensure your stitch tension is consistent. Uneven stitches can lead to a misshapen nugget. Second, follow the chicken nugget crochet pattern closely; stray from it, and you might end up with an unexpected result.
Third, remember to use the right yarn weight. Using too heavy or light yarn can affect the texture. Fourth, don’t forget to stuff adequately for a plump nugget. Finally, check your progress against reference images to stay on track.
| Mistake | Description | Solution |
|---|---|---|
| Inconsistent Tension | Leads to uneven shapes | Practice maintaining even tension |
| Incorrect Pattern Usage | Results in unexpected outcomes | Follow the pattern closely |
| Wrong Yarn Weight | Affects texture | Choose the recommended yarn weight |
| Insufficient Stuffing | Results in flat nuggets | Stuff adequately for fullness |
| Lack of Reference Checks | Can lead to mistakes | Regularly compare with reference images |
- Ensure even stitch tension.
- Follow the chicken nugget crochet pattern closely.
- Choose the right yarn weight.
- Stuff your nugget adequately.
- Compare progress with reference images.
Finishing and Caring for Your Crochet Chicken Nugget
After finishing your crochet nugget, weave in any loose ends and gently shape it. This helps maintain its adorable form. To keep your creation looking fresh, hand wash it in cool water and lay it flat to air dry. Avoid wringing it out, as this can distort its shape. For a fun twist, consider turning your nugget into a keychain using the amigurumi keychain tutorial. This makes for a delightful accessory that showcases your creativity.
Turn Your Chicken Nugget into an Amigurumi Kechain.
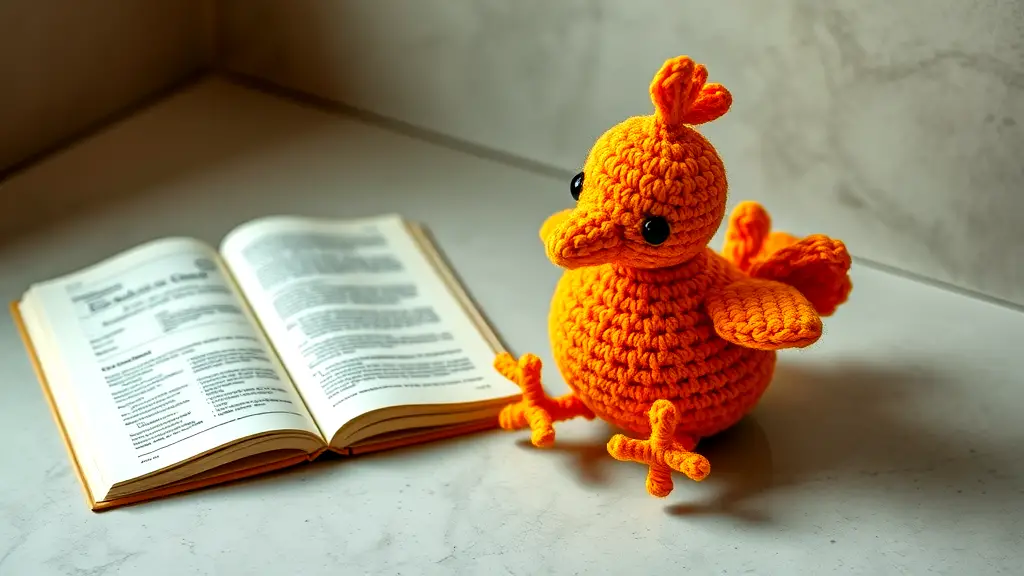
Transforming your crochet nugget into a charming keychain is a delightful idea. Simply use the monua diy technique to create a compact version. Once your nugget is complete, securely attach it to a keyring. This will not just showcase your crafting skills but also serve as a unique accessory. It’s a great way to carry a piece of your creativity wherever you go. For a fun touch, consider adding a small charm or embellishment to personalize your easy amigurumi keychain.
Conclusion
Crocheting a chicken nugget is a fun and creative project. You’ll gain skills while making something cute and quirky. It’s a great way to express your artistic side, and the results can be both amusing and practical.
Following this guide, you can create a nugget that looks almost good enough to eat. Whether you keep it for yourself or gift it to a friend, your crochet nugget will surely bring smiles. Enjoy the process, learn from any mistakes, and have fun with your new hobby. Happy crocheting!
FAQ
- What materials do I need for the chicken nugget crochet pattern?
You will need Bernat Blanket yarn in colors like Ochre or Light Brown Panda. A 5.5 mm crochet hook is typically recommended. Don’t forget safety eyes, a yarn needle, and stuffing. - How do I start crocheting the chicken nugget?
Begin with the nugget base using the Monua DIY technique. Focus on keeping your stitch tension consistent for a well-shaped nugget. - What stitches should I know for this project?
Familiarize yourself with the magic ring and single crochet stitches. These are the essential building blocks for your chicken nugget. - How can I make my crochet nugget look more realistic?
Try using different yarn weights and colors. Adding elements like “sauce” can enhance the appearance too, using colors like cherry red or hunter green. - What are some common mistakes to avoid?
Watch out for inconsistent stitch tension and incorrect pattern following. Regularly compare your creation to reference images to stay on track.

