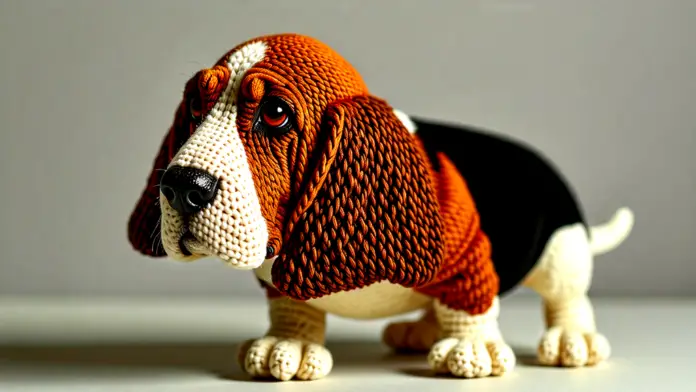
Basset Hound Crochet Pattern
Creating a Basset Hound Crochet Pattern is a delightful way to bring your love for this adorable breed to life. In this tutorial, we will guide you step-by-step through the process of crafting a charming crochet Basset Hound. Whether you’re a beginner or an experienced crocheter, you’ll find the instructions easy to follow.
You’ll need materials like medium-weight yarn in shades of brown, white, and black, plus a size 3.75mm crochet hook. We’ll cover everything, from shaping the head to adding those iconic floppy ears. So, roll up your sleeves and let’s make an endearing Basset Hound amigurumi that you’ll cherish!
Key Takeaways
- Use medium-weight yarn in brown, white, and black for your Basset Hound pattern.
- Follow a step-by-step guide to create a crochet Basset Hound with iconic features.
- Incorporate realistic details, like wrinkles, for a true-to-life look.
- Troubleshoot common issues, like loose stitches, for a polished finish.
- Showcase your creation with good lighting and angles for impressive product images.
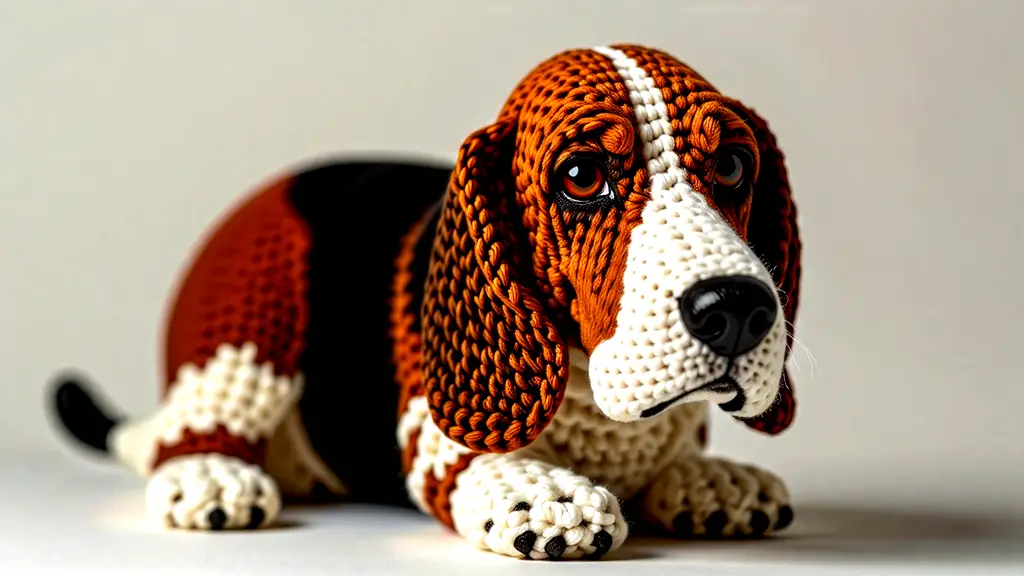
Materials Needed for Your Basset Hound Crochet Project
For your Basset Hound crochet project, gather these essential materials.
Start with medium-weight yarn in brown, white, and black. Consider using Istex Lett Lopi wool for a cozy texture. You’ll need a crochet hook sized 3.75mm to achieve the right stitch tension. Don’t forget a pair of 12mm safety eyes to give your creation a lifelike gaze.
For stuffing, use polyester fiber fill to ensure your Basset Hound is plush and cuddly. A wool needle and black thread will help you sew on the eyes and add final touches.
Here’s a quick reference table for your project:
| Material | Description | Quantity |
|---|---|---|
| Yarn | Medium-weight in brown, white, black | 3 colors |
| Crochet Hook | Size 3.75mm | 1 |
| Safety Eyes | 12mm pair | 1 set |
| Stuffing | Polyester fiber fill | 1 pack |
| Wool Needle & Thread | For assembly and details | 1 each |
Happy crocheting!
Step-by-Step Guide to Crocheting a Basset Hound
Creating your basset hound crochet pattern begins with the head. Start with a chain stitch, then follow with single crochet to shape it. Use increases and decreases for the muzzle and head contour.
Next, craft the body using single crochet stitches, adjusting sizes as needed. For those iconic long ears, employ a fold technique to mimic their unique look. Attach the safety eyes and stitch a nose with black thread for added realism.
Crochet the legs separately, ensuring they are stubby to reflect the breed. For the tail, a short, tapered design works best. Securely connect all parts, paying close attention to proportions.
To achieve a more realistic finish, opt for natural color yarns and consider using Istek Lett Lopi for texture. For added flair, incorporate loop stitches to enhance the fur effect. Don’t forget to focus on details like wrinkles and eye placement for a lifelike appearance.
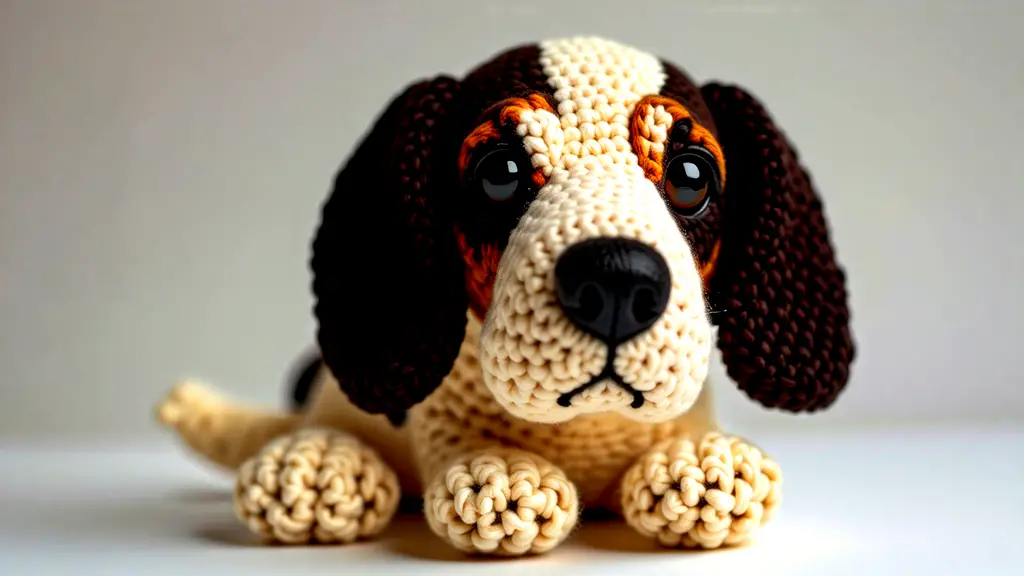
Beginning Your Crochet Basset Hound
Getting started with your crochet Basset Hound involves a few key steps. Begin by gathering all necessary materials. You’ll need medium weight yarn in brown, white, and black, a 3.75mm crochet hook, safety eyes, stuffing, and a wool needle.
Start with the head using chain stitches and single crochets. Shape the muzzle through careful increases and decreases. For the body, continue with single crochet stitches, adjusting size as you go.
Focus on creating those iconic long ears with a fold technique. Attach the safety eyes and embroider the nose for detail. Legs should be stubby, and once crocheted separately, securely attach them.
Don’t forget about the tail, keeping it short and tapered. For a more realistic look, consider using Istex Lett Lopi yarn. For inspiration, browse images of completed projects to spark creativity, like those found on Etsy.
Crafting the Basset Hound’s Distinctive Features
Creating the unique characteristics of a Basset Hound is key for an authentic look in your basset hound crochet pattern. Start with the ears, emphasizing their long, droopy quality. Use a fold technique to replicate the signature lip folds. For the eyes, attach safety eyes and carefully embroider a nose with black thread for added detail.
Next, focus on the legs. They should be thick and stubby, mimicking a real Basset Hound’s stance. Each leg should be crocheted separately before attaching them securely to the body. A short, tapered tail will complete the look, adding to the charm of your creation.
To give your project an even more realistic touch, consider using Istex Lett Lopi yarn. This will enhance textures and colors. Collect inspiration from various product images to refine your final piece.
| Feature | Description | Tips |
|---|---|---|
| Ears | Long and floppy | Use fold technique for realism |
| Eyes | Safety eyes | Embroider a detailed nose |
| Legs | Stubby and thick | Crochet separately, attach securely |
| Tail | Short and tapered | Ensure it’s firmly attached |
| Yarn | Natural colors and textures | Consider Istex Lett Lopi for fuzziness |
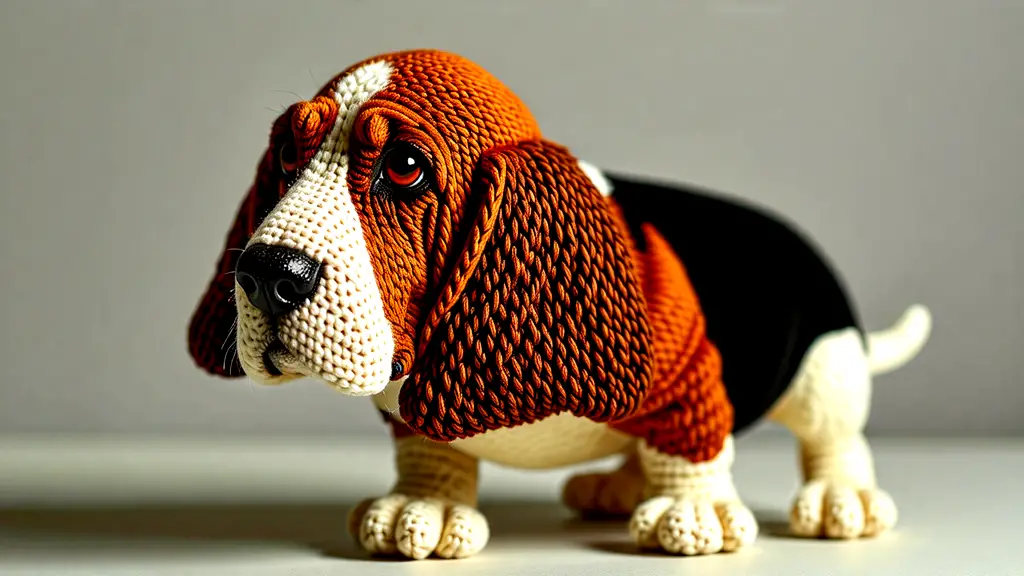
Finishing Your Basset Hound Amigurumi
Completing your Basset Hound amigurumi is an exciting part of the process. Start by attaching the tail, ensuring it’s short and tapered for that authentic look.
Next, focus on assembly. Securely connect all parts, making sure everything is proportionate and in line. Use a wool needle for a neat finish.
For a polished look, consider adding small details. You can create realistic textures by using loop stitches or varying your stitch count slightly. This adds character to your creation.
Don’t forget to check for any loose threads or missed stitches before finalizing. A well-finished piece will stand out.
If you want to showcase your new creation, take images in good lighting from multiple angles. Sharing your progress on social media can inspire fellow crafters. This is a great way to connect with the crochet community and celebrate your achievement with your basset hound crochet pattern!
Tips for a More Realistic Basset Hound Crochet
For a more lifelike basset hound crochet creation, focus on your color choices. Using natural shades will closely resemble a real dog’s coat. Textures matter, too—consider using Istex Lett Lopi wool for a fuzzy finish.
Incorporate loop stitches for a fur-like effect. This adds depth and realism. Don’t overlook the tiny details; wrinkles around the face and precise eye placements can elevate your project significantly.
When assembling, ensure everything is proportionate. Misaligned parts can disrupt the overall look. Use stitch markers to maintain alignment.
Lastly, take great care with your finishing touches. A polished piece will always catch the eye. With these tips, your basset hound pattern will surely impress fellow crafters!
| Material | Purpose | Tips |
|---|---|---|
| Yarn | Color and texture | Choose natural colors |
| Crochet Hook | Stitch size | Size 3.75mm for best results |
| Safety Eyes | Realistic appearance | Position them carefully |
| Stuffing | Shape and firmness | Use polyester fiber fill |
| Stitch Markers | Keep track of rounds | Helps with alignment during assembly |
Troubleshooting Common Issues in Crochet Patterns
Common challenges can arise while working on a basset hound crochet pattern. If your stitches are too loose, check your tension. Consistent tension helps keep your project neat. For parts that don’t align, try using stitch markers. They keep track of rounds, making assembly easier.
If your basset hound pattern doesn’t look as expected, examine your color choices. Sometimes, a different yarn can change the entire look. Using Istex Lett Lopi can add a unique texture.
When dealing with misaligned legs, ensure they are attached symmetrically. Check your measurements and adjust as needed.
For those floppy ears, ensure you’re following the fold technique closely. It can make all the difference for a realistic appearance.
Lastly, if you encounter any confusion, don’t hesitate to refer back to your steps. Patterns can be tricky, but persistence pays off!
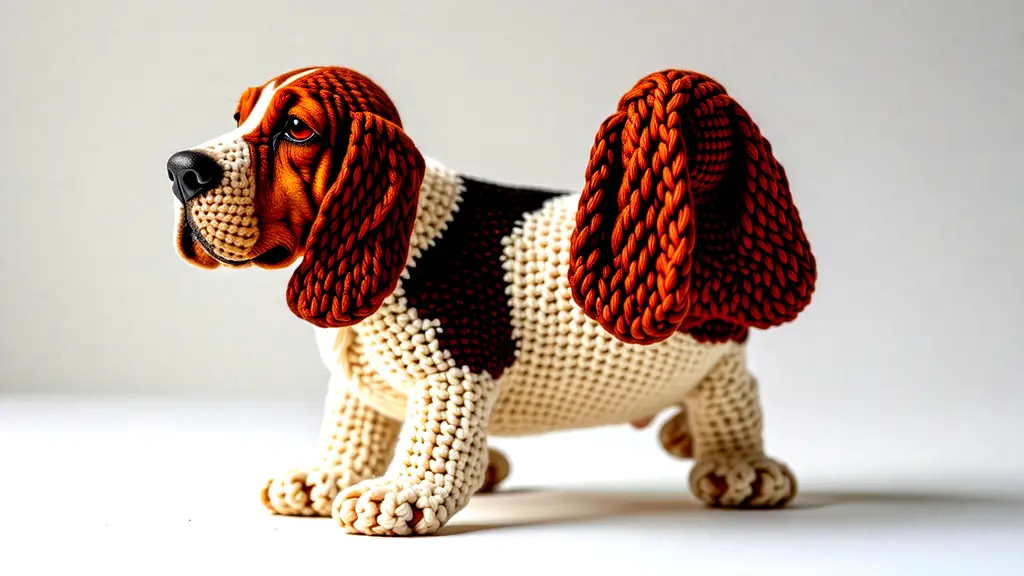
Showcasing Your Completed Basset Hound Crochet Creation
Highlighting your completed Basset Hound crochet creation can be as fun as making it! Capture the charm of your handiwork by taking stunning photos. Use natural light and a clean background to emphasize the details. Experiment with various angles to showcase the unique features, like those floppy ears and expressive eyes.
Consider sharing your creation on social media or crochet forums. Engaging with the crafting community can provide valuable feedback and even inspire others. If you’re thinking about selling, remember to credit the original pattern basset hound designer. This respect fosters goodwill and may open doors for future collaborations.
For those seeking inspiration, exploring product images can provide fresh ideas. Check out other makers’ techniques and styles. By doing so, you’ll not just show off your talent but also enrich your crochet journey.
Conclusion
Creating your own Basset Hound crochet masterpiece is a rewarding experience. With the right materials and techniques, you can bring this adorable dog to life in yarn. Remember, it’s all about the details! Focus on the distinctive features that make the Basset Hound truly special.
Once you’ve finished, don’t forget to show off your creation. Take great photos and share them with the crochet community. They’ll appreciate your hard-earned craftsmanship. Whether you keep it for yourself or gift it to someone, your crochet Basset Hound is sure to bring joy. Enjoy the process and happy crocheting!
FAQ
- What materials do I need for the Basset Hound crochet project?
You will need medium weight yarn in brown, white, and black. A 3.75mm crochet hook, safety eyes, polyester stuffing, a wool needle, and black thread are essential tools. - How do I start crocheting the Basset Hound?
Begin with a chain stitch for the head, followed by single crochet stitches. Use increases and decreases to shape the head and muzzle. - How can I make my Basset Hound look realistic?
Choose natural colors for your yarn and use loop stitches for fur effects. Pay close attention to details like wrinkles and eye placement to enhance realism. - What should I do if my stitches are loose?
Keep your tension consistent while crocheting. If stitches are too loose, it can make your amigurumi look messy and uneven. - How can I best showcase my finished Basset Hound?
Take photos in a well-lit area and from different angles. Share your creation online to get feedback, and if selling, credit the original pattern designer.

