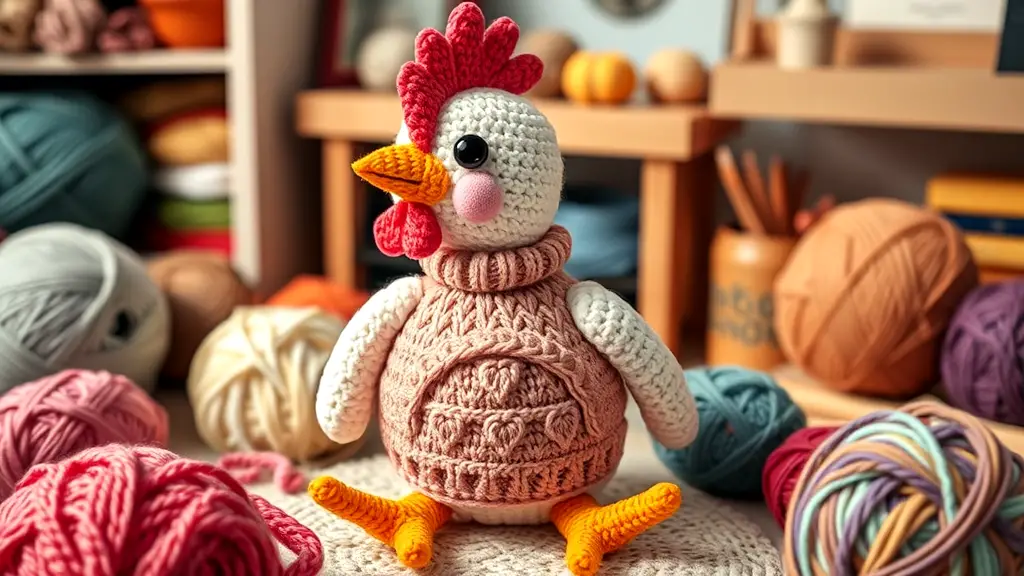
Free Crochet Chicken Sweater Pattern
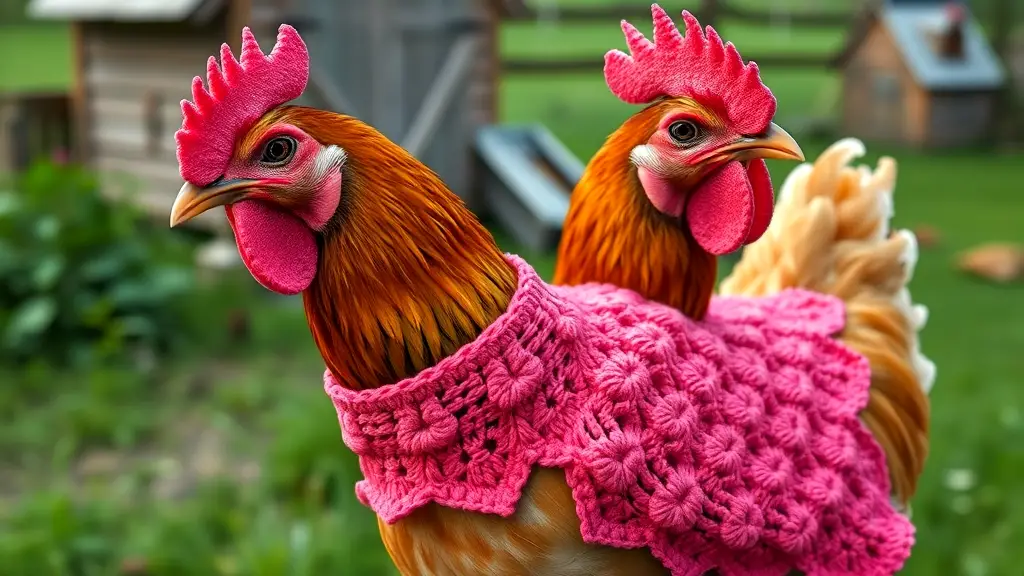
Ever thought your chickens could use a little style update? Well, you’re in for a treat! This free crochet pattern is perfect for crafting a cozy, plush chicken sweater. It’s not just about looks; these sweaters can keep your chickens warm during colder months. Using simple stitches like the half double crochet, you can create a snug fit. Plus, the charming heart stitch adds a cute touch. Whether you’re an experienced crocheter or just starting out, this crochet chicken sweater pattern is easy to follow. So grab your yarn and hook, and turn your chickens into the most fashionable birds in town. Remember, a happy chicken is a warm chicken!
Key Takeaways
- Craft a crochet chicken sweater using a free crochet pattern with easy stitches.
- Gather worsted weight yarn, a size H-8 hook, and optional buttons.
- Follow step-by-step instructions, adapting the pattern to your chicken’s size.
- The heart stitch adds a unique flair to your plush chicken sweater.
- Regularly fit the sweater on your chicken for comfort and adjust as needed.

Materials Needed for Your Chicken Sweater
When gearing up to crochet a sweater for your chicken, there are a few essentials you can’t skip. Start with worsted No. 4 weight yarn. You’ll need about 150 yards, plus a splash of contrasting color. A size H-8 (5.00mm) crochet hook is your trusty sidekick here. For those who love a bit of flair, consider adding large buttons, at least one inch in size. These can add both function and a dash of personality.
Now, onto the nitty-gritty: the gauge. Aim for 4”x 4” with 12 single crochets (SC) across and 15 rows up. Think of this as your sweater’s backbone, ensuring everything fits like a glove—or in this case, a snug chicken sweater. Using the free crochet chicken sweater pattern, you can personalize each stitch to suit your feathered friend. As you crochet, keep double-checking your progress. No one likes a sweater mishap, especially not your chicken.
Speaking of stitches, the half double crochet technique can be a game-changer. It bridges the gap between single and double crochet, offering just the right texture. This stitch will make your sweater both warm and lightweight—just what your chicken ordered. As you get the hang of it, you’ll find yourself turning more yarn into delightful creations.
So, why stick to just one sweater? With a variety of chicken sweater patterns available, you can whip up an entire wardrobe. Each pattern offers something new, from classic styles to quirky designs. If you enjoy a project that’s both fun and functional, you’re in the right place. Plus, customizing these patterns for personal use couldn’t be more rewarding.
Finally, keep an eye on the details. Small choices, like the right color combination or a perfect crochet pattern, can make all the difference. Whether you’re crafting a sweetheart crochet chicken design or opting for a more traditional look, each choice tells a part of your chicken’s fashion tale.
| Material | Quantity | Purpose | Optional |
|---|---|---|---|
| Worsted No. 4 Yarn | 150 yards | Main body | No |
| Contrasting Yarn | Small Amount | Accents | No |
| Size H-8 (5.00mm) Hook | 1 | Crocheting | No |
| Large Buttons | 1” or larger | Decoration | Yes |
| Free Chicken Sweater Pattern | 1 | Guide | No |
This table will guide you in collecting the right materials, ensuring your crochet adventure is smooth sailing. With these materials and a dash of creativity, your chicken will be the talk of the coop!
Step-by-Step Crochet Instructions
In beginning your crochet journey, start by making a chain of 31 stitches. Adjust this number if needed to fit your feathered friend. Work double crochet stitches for the first few rows, crafting the sweater’s main body. To make holes for the wings, chain 6 stitches, skipping 6 stitches in the previous row. This will give your chicken’s wings the freedom they deserve.
As you continue, the sweater’s back and sides take shape through more double crochet. Keep it looking spiffy by using a picot stitch along the edges. Try the sweater on your chicken as you go. This ensures it fits like a glove—or a perfect chicken sweater! Once satisfied, fasten off and weave in the ends. A smooth finish makes all the difference.
Here’s a handy checklist for the process:
- Chain 31 Stitches: Start with this number or customize it for your chicken’s size.
- Double Crochet Rows: Form the body using a few rows of double crochet.
- Create Wing Holes: Chain 6, skip 6 stitches, and let those wings fly!
- Continue with Double Crochet: Shape the back and sides neatly.
- Add Decorative Picot Stitch: Give the edges a stylish flair.
- Fit as You Work: Ensure it hugs your chicken just right.
- Fasten Off and Weave Ends: Finish with tidy edges.
Exploring chicken sweater patterns can be both fun and rewarding. You might come across wonderful designs on creative marketplaces. For example, the sellers on Etsy offer various styles, such as the chicken sweater crochet pattern for sale.
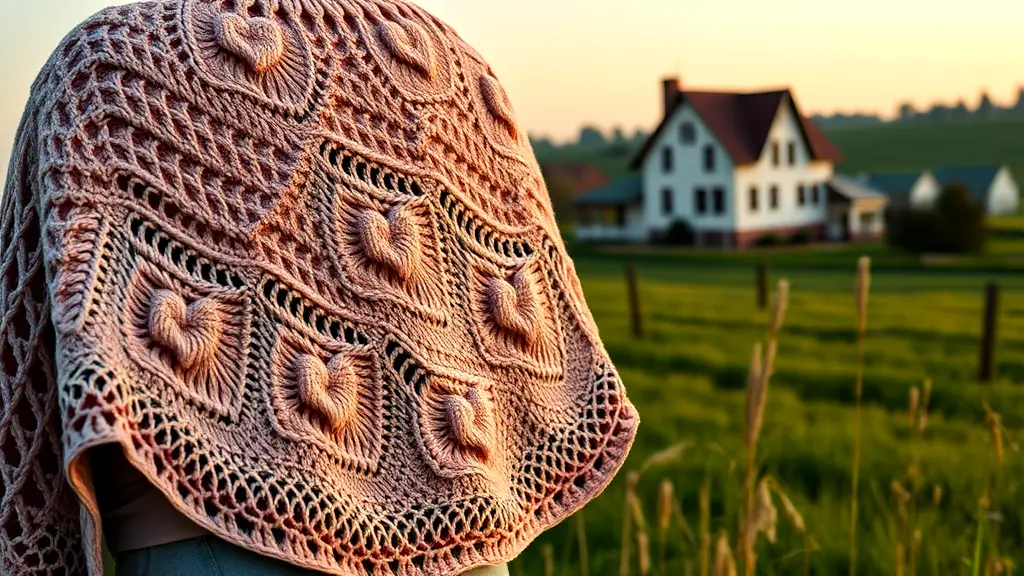
Turning your attention to the sweet details, consider incorporating the heart stitch. This charming touch adds personality to your creation. A mix of slip stitches, chains, and single crochets are used to form this adorable feature. It’s the icing on the cake, turning your sweater from simple to extraordinary.
When you turn to patterns for personal use, remember to have fun with colors and textures. Selecting the right yarn is key to creating a durable and washable sweater. Plus, a little trial and error goes a long way in perfecting your craft. Embrace these steps, and your chicken will be the talk of the town—or the coop.

Understanding the Heart Stitch Technique
The art of crafting that charming heart stitch can truly transform your crochet chicken sweater into something special. It’s a delightful detail that uses a mix of slip stitches, chains, and single crochets. This technique works like magic, giving your project that extra ‘wow’ factor. Check out online tutorials if you need a visual nudge. They can be your best friend in mastering this stitch.
When working on a free pattern for your chicken sweater, sprinkle in the heart stitch for good measure. This turn can make your sweater stand out in the flock. It’s like adding a cherry on top of an ice cream sundae—pure delight!
Here are some tips to help you incorporate the heart stitch effortlessly:
- Turn with Confidence: After each row, turn your project confidently. This helps maintain a neat pattern.
- Gauge Matters: Always check your gauge before you start. It affects the final fit and look.
- Practice Makes Perfect: Spend some time practicing the heart stitch separately. This builds muscle memory.
- Smooth Transitions: Ensure smooth transitions between stitches. Consistency is key for that polished look.
- Mind Your Tension: Keep an even tension throughout. Uneven tension can distort the hearts.
- Use Markers: Stitch markers can guide you in maintaining uniform heart placement.
- Experiment Freely: Feel free to modify the heart size. Adjust as you see fit for personal flair.
- Turn Mistakes into Opportunities: Mistakes can lead to unique designs. Embrace them as part of the journey.
With these tips, you’ll be turning heads with your crochet chicken sweater in no time. Remember, this is your chance to explore creativity. Use the heart stitch to give life to your pattern for personal use.
Finally, don’t shy away from trying different yarns. Each yarn brings a new texture, making your project truly unique. Your chicken sweater can be as bold or subtle as you like. With patience and some trial and error, you’ll soon have a delightful sweater your chicken will strut around in proudly. As they say, practice makes perfect—or in this case, makes the perfect cozy sweater!

Top 3 Tips for Perfect Chicken Sweaters
Perfecting your crochet chicken sweater calls for a few tips. First, try on the sweater as you crochet. Chickens come in all shapes and sizes, so fit checks ensure a snug fit. No one likes a wardrobe malfunction, especially your feathered friend!
Next up, the yarn. Pick a washable, durable yarn. Chickens can be a bit adventurous, and their sweaters should keep up. A yarn that can withstand the elements is your best bet.
Lastly, think of your chicken’s comfort. Sweaters should allow for free wing movement and be open at the back. This helps avoid messiness and keeps your chicken strutting happily.
Here’s a table to help you with your crochet chicken sweater:
| Tip | Importance | Action | Benefit |
|---|---|---|---|
| Fit While Crocheting | High | Try on the sweater often | Ensures a perfect fit |
| Choose Durable Yarn | High | Select washable yarn | Withstands chicken adventures |
| Ensure Comfort | High | Allow wing movement and open back | Keeps chickens happy and comfy |
| Use Free Crochet Chicken | Medium | Get creative with the pattern | Enhances personal design |
| Add Personal Touches | Medium | Customize with colors or buttons | Makes sweater unique |
Remember, creativity is your ally here! If you want to add a personal touch, use contrasting colors or quirky buttons. Sometimes, a splash of color can turn a simple sweater into a fashion statement. And who knows? Your chicken might just become the trendsetter of the coop!
Stay within the suggested gauge for consistency. A 4”x4” gauge with 12 single crochets and 15 rows usually works. This ensures your stitches look uniform and neat.
In the end, rely on your imagination. Maybe your chicken wants a superhero cape or a holiday-themed sweater! The possibilities are as endless as a yarn ball that never tangles (we wish, right?).
And look for a free crochet chicken sweater pattern online as a starting point. Just remember, the best sweaters are the ones made with love and a hint of fun. Happy crocheting!
Conclusion
Creating a crochet chicken sweater is a delightful and rewarding experience. Imagine your chicken strutting around in its cozy, handmade attire. It’s a fun way to combine creativity with practicality. Plus, your feathered friend stays warm and stylish.
Remember to have patience with the process. Each stitch adds character and love to your creation. Mistakes can happen, but they’re part of the journey.
With these tips and techniques, you’re well on your way to mastering this unique craft. Share your finished sweater with fellow crafters and chicken enthusiasts. Who knows? You might start a new trend in the chicken fashion world! Keep those hooks busy and your chickens cozy. Happy crocheting!
FAQ
- Why would a chicken need a sweater? Chickens can feel the cold, especially during winter. A sweater helps keep them warm. It’s like a cozy winter coat for your feathered friend.
- What type of yarn should I use? Choose a washable, durable yarn. Worsted No. 4 weight is a good choice. It ensures comfort and withstands weather changes.
- How do I adjust the sweater size for my chicken? Start by chaining more or fewer stitches. Regularly try the sweater on your chicken. Adjust as needed for a snug fit.
- Can I add embellishments like buttons? Yes, you can add large buttons for flair! Just ensure they’re secure. Chickens can be curious and might peck at loose bits.
- Is the heart stitch easy to learn? Yes, it’s simple and adds a cute touch. Use slip stitches and single crochets. Watch tutorial videos for extra help.


