

Are you interested in adding a unique element to your crochet and knitting projects? A Hello Kitty hat is a cute and functional accessory suitable for both kids and adults, making it a delightful DIY craft.
This guide provides all the necessary information, including advice on selecting the right materials, mastering basic crochet stitches, and step-by-step instructions for creating your own Hello Kitty hat using a pattern and tutorial.
Additionally, it includes tips to enhance your project with embellishment ideas and resources for finding further online patterns. Prepare to explore your creativity and share your finished item on social media.
Why Crochet a Hello Kitty Hat?
Crocheting a Hello Kitty hat is a satisfying DIY project that merges creativity with the appeal of a popular character. This accessory adds a stylish element to children’s fashion while also serving as a distinctive handmade gift that can be appreciated during playtime or winter.
Crafted from soft yarn and colorful embellishments, a Hello Kitty hat offers both warmth and style for children, making it a valuable addition to any young person’s wardrobe and a perfect example of kids’ fashion.
Additionally, the process of crocheting can be an enjoyable and relaxing hobby for both beginners and experienced crafters.
What Materials Do You Need?
To crochet a Hello Kitty hat, various materials are necessary for creating this accessory. Key items include soft yarn in multiple colors, a crochet hook of the appropriate size, and a pom-pom maker for the finishing touch. Additional embellishments like safety eyes or thread for sewing can enhance the design.
For the yarn, soft acrylic or cotton blends are recommended, as they are gentle against the skin and come in a vibrant range of colors that reflect the classic Hello Kitty aesthetic. A worsted weight yarn is generally suggested, working well with a size H (5.0 mm) crochet hook to achieve a cozy yet structured look.
It is important to check the gauge to ensure the hat fits properly; doing this can save time and frustration later on. These materials can be found at popular craft stores like Michaels or Joann, and many online retailers, such as Yarnspirations, offer seasonal and themed yarn selections that may add a unique touch to the project. Additionally, pastel shades and holiday-themed yarns can enhance the overall design.
What are the Basic Crochet Stitches Used?
Understanding the basic crochet stitches is essential for successfully creating a Hello Kitty hat, especially for those who are new to this craft. Common stitches like chain, single crochet, and double crochet form the foundation for this project and are easily mastered by beginners.
More experienced crafters can explore variations or details in their designs, enhancing the overall appearance of the character hat.
Mastering these stitches not only establishes a solid base for crafting but also encourages creativity, allowing for personal expression and skill enhancement. Visual aids, such as detailed diagrams and tutorial videos, can be very useful in learning the techniques for each stitch. A visual guide or chart can also assist in understanding pattern repeat and gauge measurement.
For example, the chain stitch creates the initial row, while single crochet produces a tight fabric that is ideal for detailing, particularly for Hello Kitty’s face. Beginners may want to start with simple projects like coasters or pot holders, gradually moving on to more complex items like the Hello Kitty hat as they build confidence in their crochet skills. Exploring pattern variations and user-generated content can provide further inspiration for project ideas.
How to Crochet a Hello Kitty Hat?
Crocheting a Hello Kitty hat can be a rewarding experience that entails following a detailed step-by-step tutorial. This guide will assist in navigating the process, from creating the earflaps to completing the hat, ensuring that the final product is as adorable as the character itself. Consider downloading a printable pattern to follow along easily.
The pattern is suitable for all skill levels, accommodating both beginners and advanced crafters, allowing for creativity in crafting and design.
Step 1: Make the Earflaps
The first step in crocheting a Hello Kitty hat involves making the earflaps, which provide warmth and a playful touch to the design. Using the appropriate crochet pattern, one begins by creating a foundation chain and then works in rows to shape each earflap. Following the tutorial closely ensures that the earflaps are symmetrical and ready for the next step.
To achieve the right fit, it’s important to focus on specific stitches like double crochet or half double crochet, making adjustments for gauge as necessary to ensure they are snug yet comfortable against the head.
When attaching the earflaps to the main body of the hat, using slip stitches or a whip stitch helps create a seamless connection. This method secures the earflaps while maintaining the overall aesthetic of the hat.
To enhance the playful nature of the design, consider adding embellishments such as buttons, bows, or small felt shapes that reflect Hello Kitty’s iconic features, making it a charming accessory for any child.
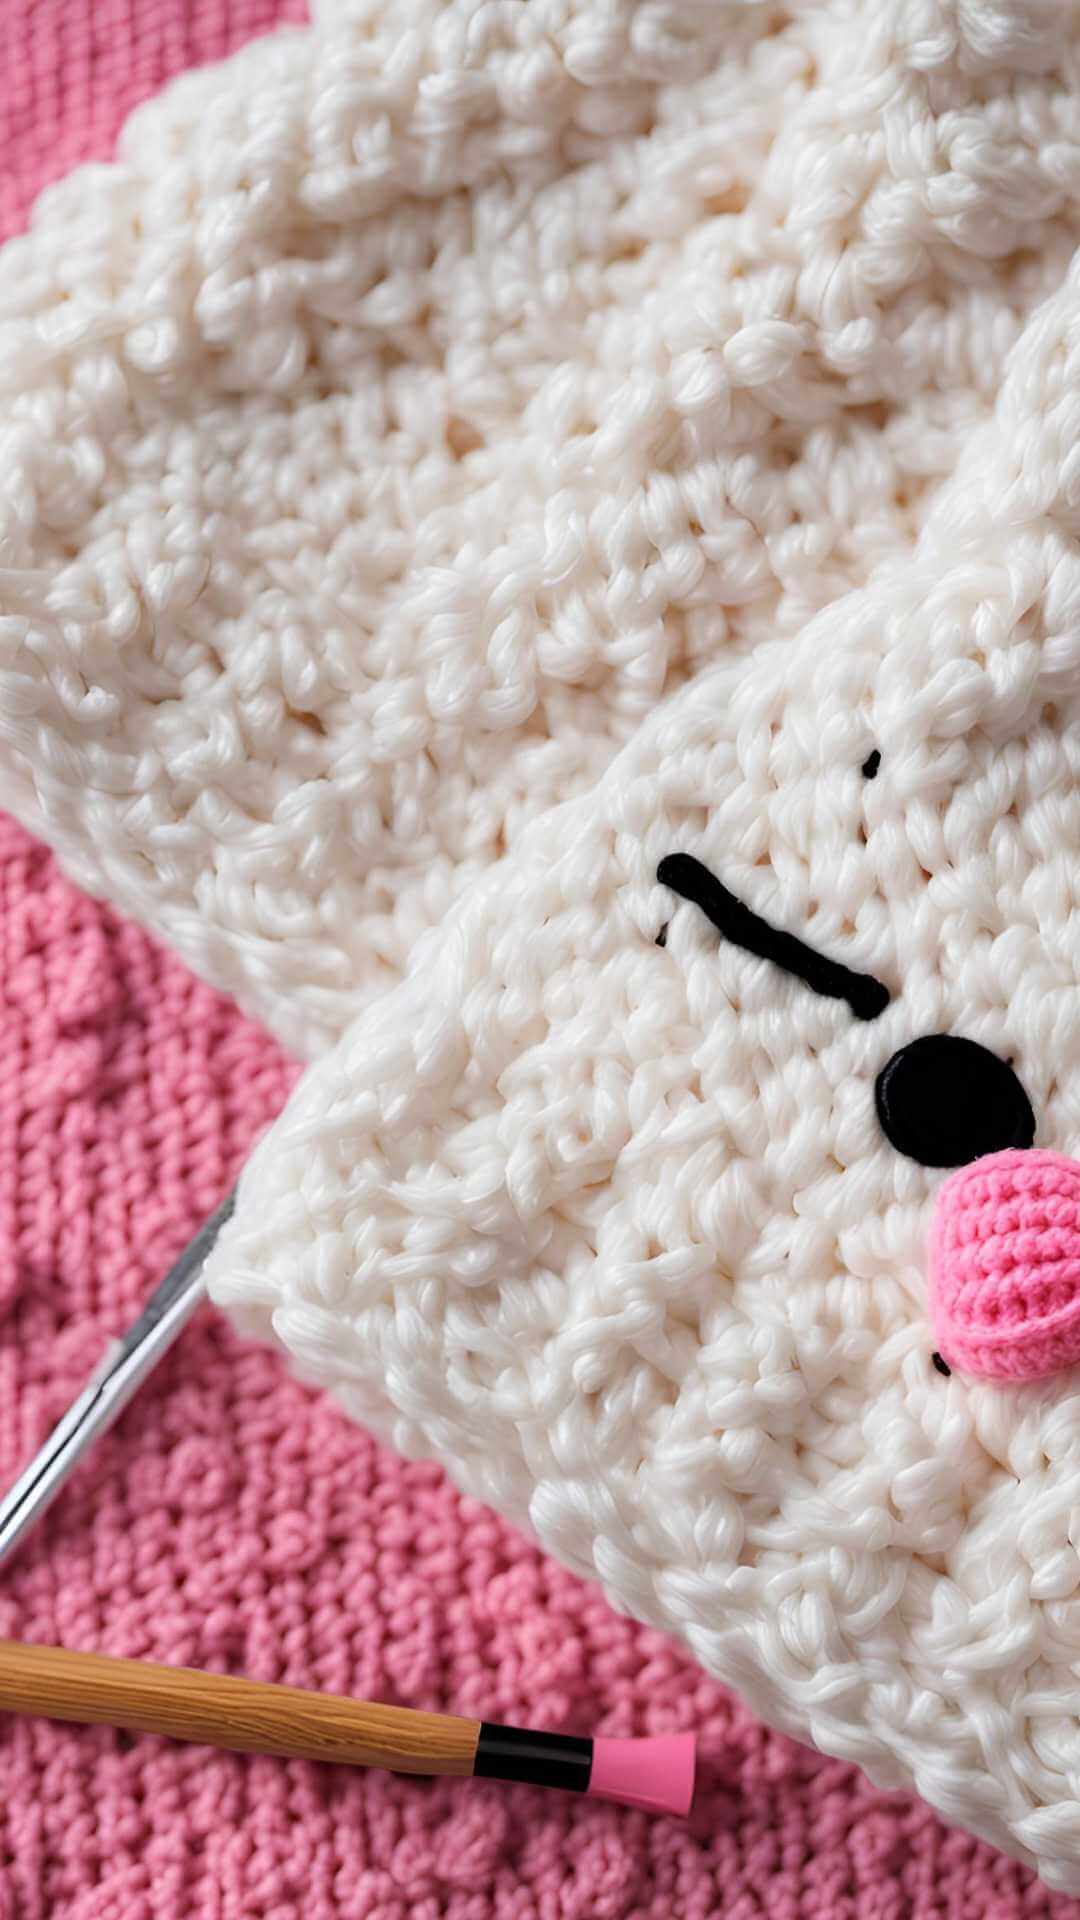
Step 2: Create the Hello Kitty Face
Creating the Hello Kitty face is an enjoyable and creative aspect of the crochet process, allowing for personalization in the design. Different colors of yarn are used to form facial features, such as the distinctive whiskers and eyes, bringing the character’s cute appearance to life. This step can be tailored according to individual preferences, making each project unique.
As you begin this process, it is important to pay attention to gauge and thread tension, as these factors can significantly influence the final appearance of the face. A tighter tension creates a more defined look, which is ideal for delicate features, while a looser gauge results in a softer, more plush effect.
To enhance the three-dimensional quality of the face, varying the yarn thickness or using simple stitches can add depth. Incorporating playful elements, such as a colorful pom-pom for the nose, not only adds charm but also completes the signature look. These personal touches will give the creation character, making it a special project.
Step 3: Add the Ears
Adding the ears to the Hello Kitty hat is an important step that enhances its playful charm. By crocheting the ears separately and then securely attaching them to the hat, the iconic look associated with Hello Kitty is achieved. Crafting soft, plush ears ensures that the hat not only looks cute but also feels comfortable when worn. Consider using techniques like layering and customization to add vintage appeal or inspiration from pop culture.
To create these ears, it is essential to use medium-weight yarn in an appropriate color, and a 4.0 mm crochet hook is recommended for optimal stitch size. Begin by making a foundation chain, followed by single crochet stitches to form the ear shape. Using slip stitches for the finishing rounds can help maintain structure.
Secure attachment is crucial; using a whip stitch ensures that the ears remain firmly in place for playful wear. For a customized touch, consider adding embellishments like small bows or patches, which can personalize the hat and showcase individual creativity.
Step 4: Finish the Hat
Completing the Hello Kitty hat involves a few final touches that bring the entire project together, such as adding a pom-pom to the top for an added element of cuteness. It’s important to ensure all ends are woven in and that stitches are secure for durability. This finishing step not only completes the hat but also enhances its overall cozy and playful design.
To achieve a polished look, taking the time to weave in ends carefully is essential, ensuring there are no loose threads that could detract from the hat’s appearance. Crafting it to be reversible is also an option, allowing wearers to switch between designs and providing versatility for any outfit or mood.
Experimenting with different color schemes for the pom-poms can add creativity, with shades that complement the main body of the hat. To maintain the hat’s beauty and durability, hand washing in cold water and laying it flat to dry will help keep it looking fresh and vibrant for years to come. This also makes it an ideal handmade gift or a novelty item for craft fairs.
Tips for Crocheting a Hello Kitty Hat
When crocheting a Hello Kitty hat, there are several tips that can enhance the crafting experience and ensure a successful outcome.
Using high-quality yarn improves the overall look and feel of the hat while contributing to its durability. Additionally, paying attention to gauge and closely following the pattern can help prevent common mistakes, making the project both enjoyable and rewarding.
1. Use High-Quality Yarn
Choosing high-quality yarn is important for crocheting a Hello Kitty hat, as it affects both the durability and softness of the finished product. Selecting yarn that is comfortable to touch and retains its shape will lead to a more professional-looking result. Consider the yarn type and texture that best fits the intended design and function.
For this project, fibers such as cotton, acrylic, or blends are excellent choices because they can capture the whimsical aesthetic of the character while providing a cozy finish. The color options can enhance the design; vibrant pinks, soft pastels, and classic monochromes offer a variety of creative possibilities, all enhancing the overall pattern and style.
It’s important to recognize that the type of yarn chosen not only impacts the hat’s appearance but also its longevity. Sturdy fibers help the hat withstand wear while maintaining its appeal. Experimenting with different textures and patterns can lead to unique creations that showcase individual artistry and inspire further projects within the crochet community.
2. Pay Attention to Gauge
Paying attention to gauge is important when crocheting a Hello Kitty hat, as it helps ensure the hat fits properly and retains its shape over time. Achieving the correct tension and following the pattern repeat can help avoid discrepancies that may result in an ill-fitting accessory. Utilizing a gauge swatch is a helpful method to check your work before starting the main project.
This process involves measuring the stitches per inch and adjusting the crochet hook or yarn to match the recommended gauge for the chosen pattern. It is essential to note that different yarn weights can significantly impact the overall look and fit of the hat; therefore, being mindful of gauge helps ensure the project turns out as intended. Consider the head circumference to decide the correct size and fit.
If adjustments are necessary, experimenting with hook sizes can aid in fine-tuning the tension for a more customized fit. Ultimately, maintaining a consistent gauge can improve the appearance of the hat while providing comfort, highlighting its importance in any crocheting project. Don’t forget to review the pattern variations for more creative options.
3. Follow the Pattern Carefully
Following the crochet pattern carefully is essential for creating a successful Hello Kitty hat that matches the intended design. By sticking to the provided instructions and reviewing the tutorial, crafters can avoid common mistakes and achieve a satisfactory finish. Utilize visual guides and charts to aid understanding.
Taking the time to understand each step not only helps in reaching the desired outcome but also improves the overall crafting experience. It may be helpful to jot down notes or highlight key instructions to keep track of progress. Using stitch markers can assist in maintaining organization, especially when working with repeat patterns.
Patience is important in this creative process, so it’s advisable not to rush. Periodically double-checking work can save time and frustration later, ensuring that each stitch contributes to the final Hello Kitty look.
4. Add Personal Touches
Adding personal touches to a Hello Kitty hat enables crafters to express their individuality and creativity. Customizing color schemes, incorporating unique embellishments, or experimenting with different stitch patterns transforms each hat into a one-of-a-kind creation. Consider adding DIY embellishment ideas such as pom-poms or plush additions for a cute look.
By exploring various methods of personalization, crafters can enhance their designs. For example, trendy embellishments like sequins or pom-poms can add a lively element, while seasonal themes featuring autumn leaves or holiday motifs contribute to a festive atmosphere.
Integrating elements of pop culture, such as iconic characters or memorable quotes, evokes nostalgia and connects with fans. Additionally, vintage styles with retro patterns can provide a charming touch, giving a sense of timelessness. This approach can also align with seasonal themes, making the hat a versatile accessory for a winter outfit.
These creative approaches ensure that each project reflects the maker’s unique style, allowing others to appreciate the artistry involved.
Where to Find Hello Kitty Hat Crochet Patterns?
Finding quality crochet patterns for a Hello Kitty hat is straightforward, as there are many resources available both online and in craft stores. Whether one chooses free patterns or decides to invest in paid options, there is a wide selection that accommodates various skill levels and design preferences. Look for DIY tutorials and downloadable patterns for easy access.
1. Online Crochet Communities
Online crochet communities serve as valuable resources for finding Hello Kitty hat patterns, sharing ideas, and connecting with other crafters. These spaces are ideal for community sharing and exploring user-generated content.
These platforms include active Facebook groups where members showcase their latest creations and seek advice, as well as Pinterest boards filled with visually appealing tutorials and free patterns. Ravelry provides a dedicated space for crafters to catalog their projects and discover new designs. Engage with online patterns to enhance your crafting hobby.
Engaging in these communities can enhance the crocheting experience; members often gain access to exclusive free patterns and can take part in collaborative workshops or crochet-alongs, promoting camaraderie and skill development. Share your finished items on social media for inspiration.
By participating in these online spaces, individuals can improve their technique and share their passion within a supportive network.
2. Craft Stores
Local craft stores typically offer a variety of crochet patterns, including those for making Hello Kitty hats. Shopping in-store allows crafters to examine materials up close and find inspiration in the colorful supplies available for their projects.
Customers benefit from interacting with knowledgeable staff who are often enthusiastic about crafting. These experts can provide valuable insights into current trends and techniques, helping shoppers feel prepared and informed.
Along with shopping, many of these stores host seasonal workshops and classes that offer hands-on experience, allowing both beginners and experienced crafters to learn new skills or enhance existing ones.
These opportunities not only encourage creativity but also help build a sense of community among local artisans, making the crafting experience more fulfilling.
3. Crochet Pattern Websites
Numerous websites specialize in crochet patterns, offering both free and paid options for those interested in making a Hello Kitty hat. These sites provide downloadable patterns that can be accessed, printed, and followed at one’s convenience. They often include printable tutorials and pattern language explanations for clarity.
Among the most popular options is Ravelry, where a dedicated community shares a wide array of patterns and offers insights on various projects. Etsy also features a broad selection of unique patterns, many created by independent designers; however, checking the reviews for quality assurance is important. Craftsy is another option that includes video tutorials alongside patterns, catering to those who prefer visual learning. Explore these platforms for pattern correction tips and technique enhancements.
Each platform has its strengths; for example, Ravelry is known for its community feedback, while Etsy is appreciated for its original designs, though it may be more expensive. Reading reviews and user feedback on these patterns is essential for ensuring quality and clarity, helping crocheters avoid potential frustrations during their crafting journey.
Frequently Asked Questions
1. What materials do I need to make a Hello Kitty hat using this crochet pattern?
To make this Hello Kitty hat, you will need a crochet hook, yarn in white, pink, black, and red, a yarn needle, and scissors. Consider adding fabric for lining or soft materials for a plush feel.
2. Is this crochet pattern suitable for beginners?
Yes, this crochet pattern is perfect for beginners. It uses basic crochet stitches and has easy-to-follow instructions. Ideal for those at an easy level of skill enhancement.
3. Can I adjust the size of the Hello Kitty hat?
Yes, you can adjust the size of the Hello Kitty hat by using a larger or smaller crochet hook and adjusting the number of stitches in the pattern.
4. How long does it take to complete this crochet project?
The time it takes to complete this crochet project will vary depending on your crochet speed. On average, it may take around 2-3 hours to finish.
5. Are there any special techniques I need to know to make this Hello Kitty hat?
The crochet pattern uses basic stitches, but you may need to know how to change colors and create a magic ring. Don’t worry, these techniques are explained in the pattern instructions. A visual guide is also available for more complicated techniques.
6. Can I sell the Hello Kitty hats I make using this crochet pattern?
Yes, you can sell the Hello Kitty hats you make using this crochet pattern. However, please do not sell or distribute the pattern itself as it is protected by copyright.
