Crochet Pattern For Minnie Mouse
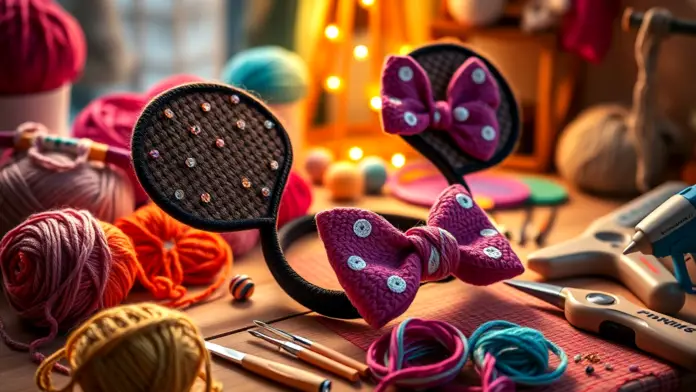
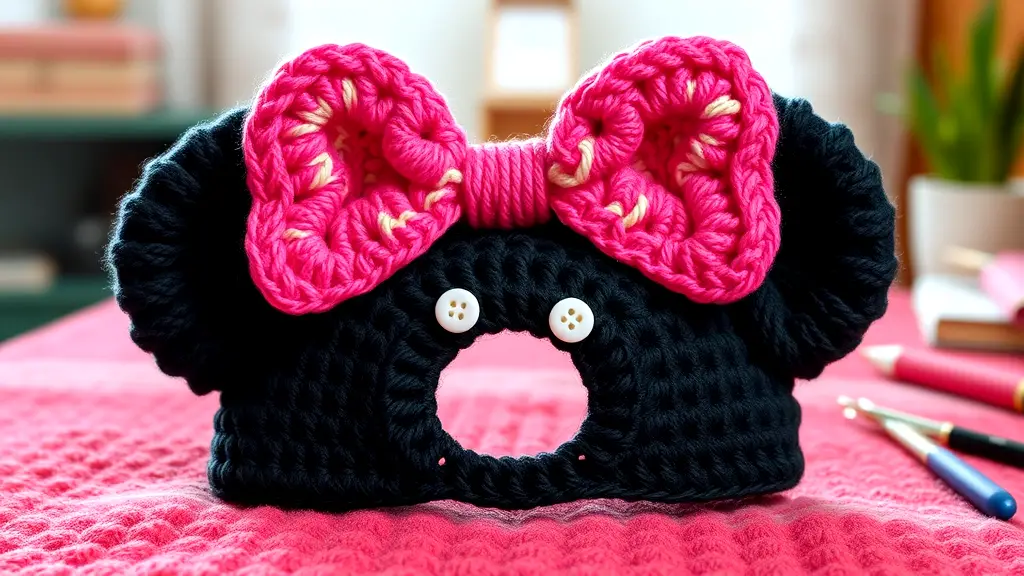
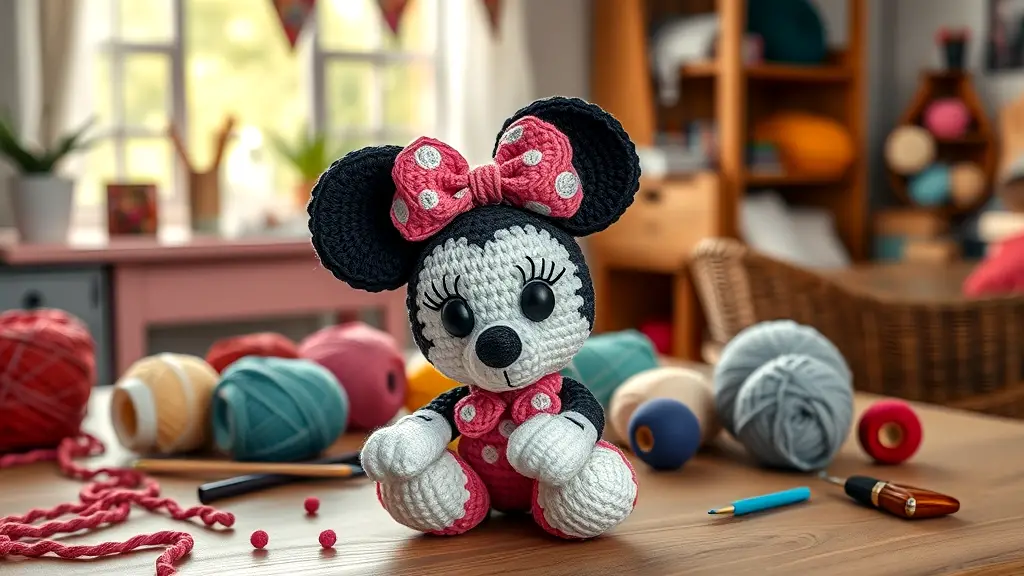
Looking for a minnie mouse free crochet pattern? You’ve come to the right place! This adorable project will have you creating a delightful mouse ears headband that’s perfect for kids and adults alike. The pattern is straightforward, making it suitable for beginners and seasoned crocheters. You’ll need some basic supplies, including DK weight yarn in fun colors like black, pink, and cream.
The key stitches are HDC (half-double crochet), which you’ll use to craft the iconic Minnie Mouse ears. In this post, we’ll walk you through easy steps to make the cutest amigurumi Minnie Mouse and her signature bow. Get ready to bring a touch of Disney magic to your crochet collection!
Key Takeaways
- Use DK weight yarn in vibrant colors like black, pink, and cream.
- Follow HDC stitches for crafting the Minnie Mouse ears.
- Create a magic ring to start your crochet project.
- Secure components with hot glue for durability.
- Add small white buttons for extra embellishments on the bow.
Necessary Materials and Tools
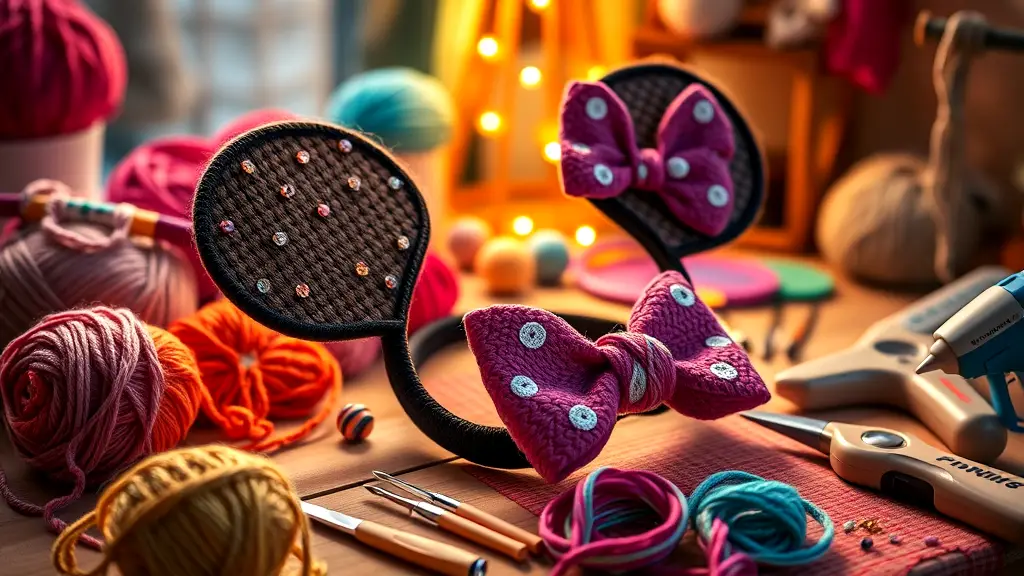
Gathering the right items is crucial for your Crochet Pattern For Minnie Mouse. Your project will shine with the proper materials and tools at your disposal. Here’s what you need:
| Material/Tool | Description | Quantity | Purpose |
|---|---|---|---|
| DK Weight Yarn | Black, cream, pink, white, yellow | 5 skeins | Main yarn for headband and ears |
| Crochet Hook | Size H | 1 | For crocheting the project |
| Hot Glue Gun | Standard size | 1 | Attaching components securely |
| Embroidery Floss | Various colors | 1 pack | Sewing small details like buttons |
| Poly-Fil Stuffing | Fiberfill | 1 bag | Stuffing for ears and bow |
| Small White Buttons | Around 1/2 inch | 2-4 | Decorative elements for the bow |
- DK weight yarn in the required colors forms the base of your project.
- A crochet hook sized H is best for achieving the right tension.
- Use a hot glue gun to keep everything securely in place.
- Embroidery floss helps you add those cute little details.
- Poly-fil stuffing gives the ears and bow their adorable shape.
- Small white buttons add charm and complete the look.
- Keep your workspace organized for a smoother crafting experience.
- Consider a comfortable seating area to enjoy the process.
Having these materials will set you on the right path. Focus on your crochet stitches, and enjoy the fun of creating your pretty Minnie Mouse headband. Whether you’re a seasoned crocheter or just starting out, this project promises to be a delightful experience. Don’t forget to keep your yarn colors bright for that classic Minnie charm!
Step-by-Step Headband Instructions
For crafting a delightful headband inspired by Minnie Mouse, follow these detailed instructions.
- Creating the Ears: Start with a magic ring and chain 2. Next, crochet 12 half-double crochet (HDC) stitches into the ring. Close the round with a slip stitch. In the second round, place 2 HDC in each stitch. Continue to shape the ear by alternating between single and double stitches. Create two ear pieces, slip stitch the edges, leaving space for stuffing. Stuff the ears lightly and glue them securely to the headband.
- Making the Bow: Chain 21 and single crochet across. Decrease stitches at the beginning and end of specific rows. To shape the bow, wrap yarn around the center 20-30 times. Sew decorative buttons onto one side for flair. Position the bow between the ears and ensure it’s firmly attached with glue.
- Embellishing the Headband: Use black yarn to embroider eyes and eyelashes on the ears. This adds character and charm. Carefully secure all components with long yarn tails to enhance durability.
- Maintaining Consistency: For a polished look, keep your stitch tension even. This is crucial for creating a neat finish.
- Color Cohesion: If you add more elements, like a skirt or shoes, stick to the same color palette. This keeps your project consistent and appealing.
- Using the Right Materials: Opt for a DK weight yarn in the specified colors. These materials are essential for achieving the classic look.
- Final Touches: Consider using a hot glue gun for added stability. It secures the ears and bow better than sewing alone.
- Showcasing Your Creation: Once complete, wear your Minnie Mouse headband proudly. It’s perfect for parties or everyday fun.
Enjoy the process, and let your creativity shine through each stitch!
Crafting Minnie Mouse Ears
Creating those adorable Minnie Mouse ears can be a delightful project! Start by gathering your materials: DK weight yarn, a crochet hook size H, and a few embellishments.
With your yarn ready, form a magic ring. Chain 2 and proceed with 12 half-double crochet (HDC) stitches inside the ring. After joining the first HDC, continue building your ear shape by increasing stitches in subsequent rounds. Alternate between single and double stitches for a rounded look.
Make sure to create two identical ear pieces. When you’re done, use slip stitches along the edges to secure them. Leave a small opening to stuff the ears with poly-fill. Once they’re plump and cute, attach them to your headband with plenty of hot glue.
Now, let’s talk about that iconic bow! Chain 21 and single crochet across. Decrease at the ends of certain rows to shape the bow. Wrap a strand of yarn around the center multiple times—this creates that classic bow look. Don’t forget to sew on small buttons for a charming touch. Position the bow prominently between the ears and glue it securely.
For the finishing touches, focus on stitch tension to keep everything looking neat. Embroider details like eyes and eyelashes with black yarn for added character. Your Minnie Mouse crochet creation should be as cute as a button!
If you’re looking for more inspiration, check out All About Ami’s Instagram for fantastic crochet ideas. Enjoy making your Crochet Pattern for Minnie Mouse and let your creativity shine in every stitch!
Adding the Iconic Bow
Crafting that recognizable bow requires precision and a bit of flair. Start by chaining 21 and then single crocheting across. This forms the base of your bow. To shape it, decrease at both ends during specific rows. This technique gives the bow its lovely curves.
After you’ve achieved the desired shape, it’s time for the finishing touch. Take a separate strand of yarn and wrap it around the center of the bow about 20 to 30 times. This creates the central knot that really makes the bow pop. For an extra touch of charm, sew on small buttons to one side of the bow. These details bring your creation to life.
Positioning is key. Place the bow securely between the ears on the headband. Use a hot glue gun to attach it. This ensures it stays put during wear. Adjust the bow until it’s centered and looks just right.
Don’t forget the importance of stitch consistency. Keeping your tension even helps maintain the shape of the bow and the overall look of your crochet Minnie Mouse project. As you assemble, consider embroidering adorable features, like eyes and eyelashes. This adds personality and makes your creation truly unique.
If you want more ideas or variations, there are countless mouse crochet patterns out there. Experimenting can lead to delightful surprises. Whether you opt for vibrant colors or classic black and pink, the end result will be a pretty Minnie Mouse that’s sure to impress.
So grab your materials and let that creativity flow! With a little patience and practice, you’ll have a stunning headband that showcases the iconic bow perfectly. Enjoy every stitch and have fun wearing your masterpiece.
Tips for Perfecting Amigurumi Minnie
Achieving the perfect Amigurumi Minnie requires attention to detail and a few handy tips. Consistency in your stitch tension is key. This ensures that each part of your project maintains a uniform shape.
When working on features like eyes and eyelashes, use black yarn for embroidery. This small detail adds character and brings your creation to life. For secure assembly, utilize long yarn tails for sewing. This strengthens each connection, making your Minnie Mouse amigurumi durable.
Choosing the right crochet stitch is crucial. The half-double crochet (HDC) stitch is often a favorite. It creates a nice texture and allows for better shaping, especially in the ears and bow. Remember to keep your stitches tight but not so tight that they become difficult to maneuver.
For embellishments, consider the color palette. Sticking to classic shades like black, white, and pink can enhance the overall look. If you decide to add a skirt or shoes, try to use the same yarn colors and stitch techniques. This consistency will result in a cohesive design.
Using a free crochet pattern can also help streamline your process. Patterns often provide step-by-step instructions, making it easier to follow along. For a creative twist, don’t hesitate to experiment with different colors and textures.
To make the ears, ensure they are stuffed adequately but not overfilled. This gives a more realistic look to your mouse crochet patterns. When crafting the bow, the wrapping technique is essential for achieving that classic Minnie style.
Finally, have fun while crafting! Enjoy the process, and don’t stress about perfection. Each stitch contributes to your unique creation. With these tips, you’ll be well on your way to creating an adorable Minnie Mouse crochet project that stands out!
Conclusion
Creating your own Minnie Mouse headband is a delightful project. With simple materials and a bit of patience, you can craft something truly special. The joy of seeing your handmade Minnie Mouse come to life is unmatched.
As you put the finishing touches on your creation, remember to take your time. Each stitch adds character and charm. When you wear your headband, it won’t just be a cute accessory; it will be a piece of your creativity. So grab your yarn, and let your imagination run wild! Happy crocheting!
FAQ
- What materials do I need for the Minnie Mouse crochet pattern?
You’ll need DK weight yarn in black, cream, pink, white, and yellow. A crochet hook size H is essential. Don’t forget a hot glue gun, embroidery floss, and poly-fil stuffing for the ears and bow. - How do I start making the Minnie Mouse ears?
Begin with a magic ring and chain 2. Then, crochet 12 half-double crochet (HDC) stitches into the ring. Follow the pattern with increasing rounds to shape the ears. - What steps should I follow to make the bow?
Start by chaining 21 and single crocheting across. Decrease at the beginning and end of the rows. Wrap yarn around the center for the bow shape, and attach buttons for decoration. - How can I ensure my crochet stitches are even?
Focus on consistent stitch tension throughout your project. This will help shape the piece evenly and make your Minnie Mouse look great. - What tips can help with assembling my Minnie Mouse?
Use black yarn to embroider details like eyes and eyelashes. Secure everything with long yarn tails to ensure durability. Keeping a cohesive color palette helps maintain design unity.
